How to Screen Record with Audio on Windows: Mic, System Sound and Fixes
 By Sleekshot Team
8 min read
Short answer
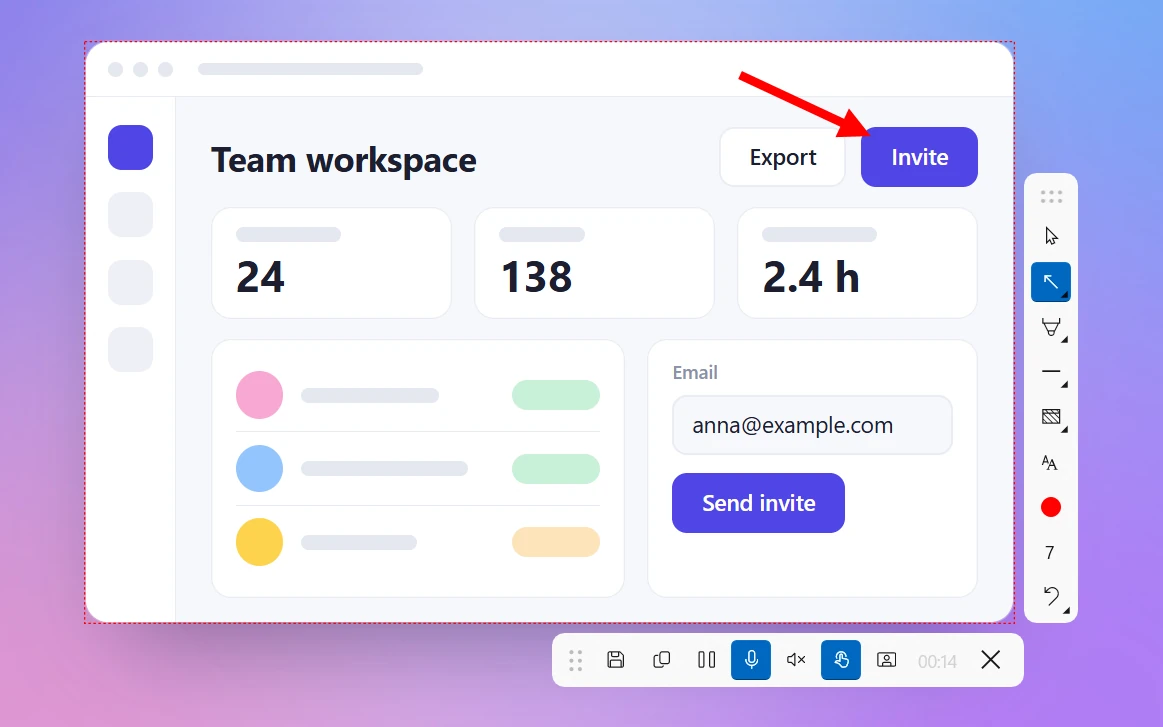
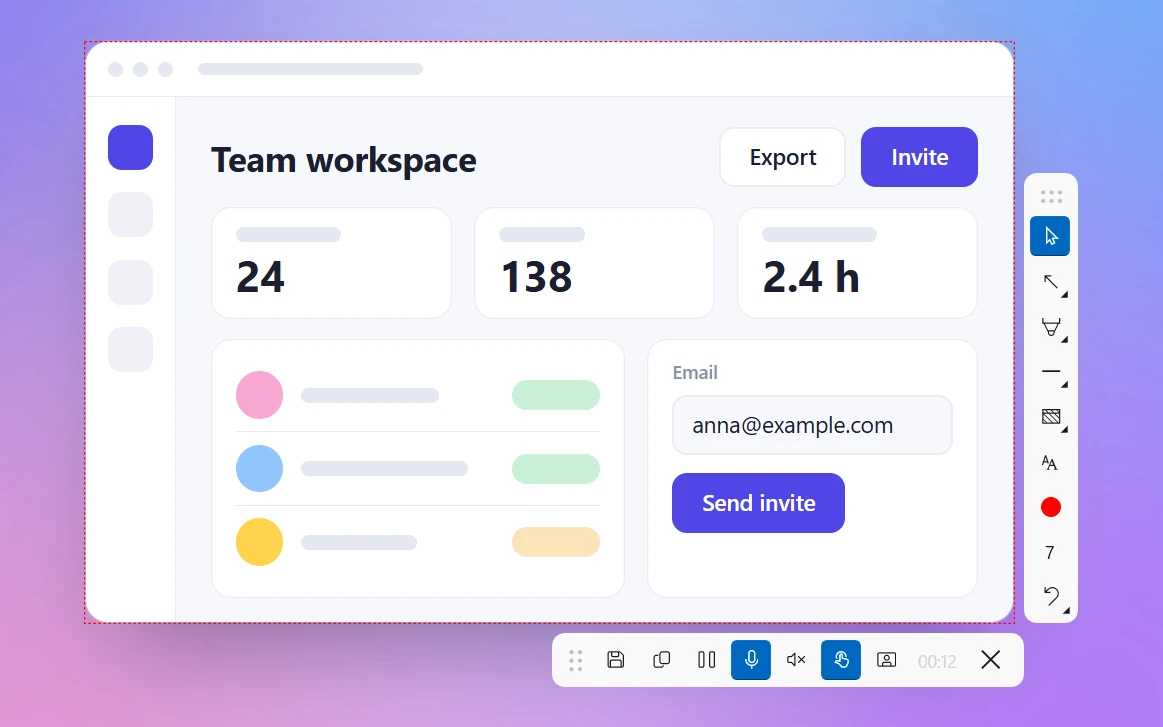
A screen recording on Windows can include two kinds of sound: your microphone (your voice) and system audio (everything the PC plays). Turn both on before you start. In Snipping Tool (Win + Shift + R), use the mic and speaker buttons. In Xbox Game Bar, Win + Alt + M adds your mic. In Sleekshot, pick a microphone and switch on system audio on the recording toolbar. If the file is silent, check those switches first, then the microphone permissions in Windows and which input device is selected.
On this page
- Microphone vs system audio: what's the difference?
- Which Windows screen recorders record sound
- Method 1: Snipping Tool with sound (Windows 11)
- Method 2: Xbox Game Bar with sound (Windows 10 and 11)
- Method 3: Sleekshot – mic list, level meter and system audio
- Method 4: OBS Studio for full control over each source
- How to get clean sound in a screen recording
- No sound in your screen recording? Check these in order
- Recording calls, meetings and webinars
To screen record with audio on Windows, turn on two things first: the microphone (your voice) and system audio (everything your PC plays). In Snipping Tool on Windows 11 (Win + Shift + R), those are the mic and speaker buttons on the toolbar. In Xbox Game Bar, Win + Alt + M adds your mic to the app's sound. Sleekshot, a free screen recorder for Windows, puts a microphone list with live level meters and a system audio switch on one toolbar.
The most common reason for a silent video is simple: one of the switches was off when you started recording. Below is how sound works in each screen recorder on Windows and how to get clean audio. At the end, you'll find what to check when the file has no sound at all.
Microphone vs system audio: what's the difference?
Your recorder treats them as two separate sources. You can record either one or both.
| Source | What it records | Use it for | Common problem |
|---|---|---|---|
| Microphone | Your voice (headset, USB mic or laptop mic) | Narration, tutorials, your side of a call | Wrong device selected, echo from speakers, keyboard noise |
| System audio | Everything the PC plays: videos, apps, calls, notifications | Demos with sound, webinars, games | Notification pings in the video, silent streaming content |
A rule of thumb: for a tutorial with voice-over, turn the microphone on, and system audio only if the app's sounds matter. For a video or game, turn system audio on, and the microphone only if you're talking over it.
Which Windows screen recorders record sound
| Tool | Microphone | System audio | Where to turn it on |
|---|---|---|---|
| Snipping Tool (Windows 11) | Yes | Yes | Toolbar buttons, before you click Start |
| Xbox Game Bar (Windows 10, 11) | Yes, Win + Alt + M | The app's sound, or everything if set to All | Capture widget, Game Bar settings |
| Sleekshot (free, Windows 10, 11) | Yes, a device list with live level meters | Yes, a separate switch | Recording toolbar, before Ctrl + R |
| OBS Studio (free, Windows, macOS, Linux) | Yes, Mic/Aux | Yes, Desktop Audio or a single app | Audio Mixer and Settings → Audio |
For full recording steps in each tool, see how to screen record on Windows.
Method 1: Snipping Tool with sound (Windows 11)
Snipping Tool records both kinds of sound, but you choose them before you start.
- Press Win + Shift + R and drag over the area you want to record.
- On the toolbar, turn on the microphone button for your voice and the speaker (system audio) button for PC sound.
- Click Start, talk and work as usual, then click Stop.
- Play the MP4 from
C:\Users\<you>\Videos\Screen Recordingsand check that both sounds are there.
So you don't have to set the buttons every time, open Snipping Tool → ⋯ → Settings and scroll to the screen recording options. Turn on Include microphone input by default when a screen recording starts. Then do the same for Include system audio by default when a screen recording starts.
Note: Snipping Tool can't record video on Windows 10. To record with sound there, use Game Bar or another screen recorder.
Method 2: Xbox Game Bar with sound (Windows 10 and 11)
Game Bar records the sound of the app you're recording. It adds your microphone only when you turn it on.
- Click into the app you want to record and press Win + Alt + R.
- Press Win + Alt + M, or click the microphone button on the small status bar, to add your voice.
- Press Win + Alt + R again to stop. The clip is in
C:\Users\<you>\Videos\Captures.
Two settings decide what you'll hear later.
- Which sounds Game Bar records. Press Win + G, click the gear icon, open Capturing and find Audio to record. Choose Game (only the app you record), All (every sound on the PC, including voice chat) or None.
- Whether Game Bar records sound at all. In Settings → Gaming → Captures, keep Capture audio when recording a game turned on.
Game Bar can't record the desktop or File Explorer, only one app window. More in our Xbox Game Bar recording guide. Every recording shortcut is in the screen recording shortcut cheat sheet.
Method 3: Sleekshot – mic list, level meter and system audio
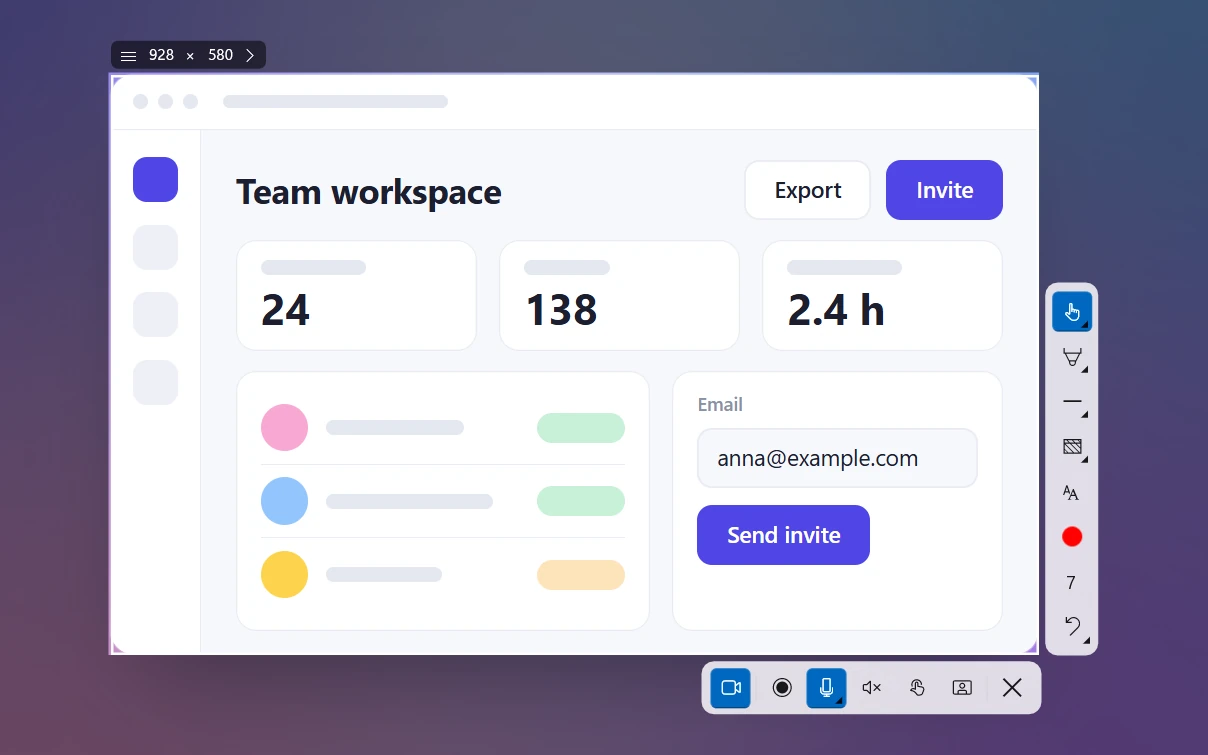
Sleekshot is a free screenshot and screen recording app for Windows 10 and 11. All the sound options sit on one toolbar, so you see what goes into the video before you start. The microphone list shows a live level meter for each mic, so you can tell right away which one hears you.
- Press PrtSc and drag over an area, click a window or press Ctrl + A for the whole monitor.
- Press V (Screen recorder mode).
- Open the microphone list, say a few words and pick the device whose meter moves.
- Turn on system audio if the PC's sound should be in the video.
- Press Ctrl + R (Record). Use Pause / Resume if you need a break, then click Save to file or Copy to clipboard.
Sleekshot saves an MP4 (H.264) with AAC sound at 128 kbps, which is plenty for voice and normal app sounds. You can add your webcam and highlighted clicks to the same video. See how to record your screen and webcam.
Sleekshot is free, with no watermark or time limit. What it can't do: separate audio tracks, noise reduction or sound-only recording. Details are on the Sleekshot screen recorder page.
Method 4: OBS Studio for full control over each source
OBS Studio (free, open source) shows each sound source as its own slider in the Audio Mixer. Use it when you need to balance levels or record the sound of just one program.
- In Settings → Audio, pick your devices for Desktop Audio (system sound) and Mic/Auxiliary Audio (your microphone).
- Watch the Audio Mixer while you talk and play something. Keep your voice out of the red part of the meter.
- Mute any source you don't want by clicking its speaker icon.
- To record the sound of one app instead of everything, add an Application Audio Capture source and mute Desktop Audio.
All that control takes time to set up, which is why OBS is overkill for a two-minute tutorial.
How to get clean sound in a screen recording
- Wear headphones when you record the microphone and system audio together. With speakers, PC sound leaks into the mic and you get an echo.
- Use a wired or USB mic if you can. Many Bluetooth headsets drop to a low-quality "headset" mode when the mic is on. That makes both your voice and the PC sound worse.
- Keep the mic 10–20 cm from your mouth and a little to the side, so your breathing doesn't hit it.
- Turn on Do not disturb. Otherwise chat and email pings end up in the recording.
- Record a 5-second test and play it back before the real take. It costs nothing and catches the usual problems: a muted mic, the wrong device or levels that are too low.
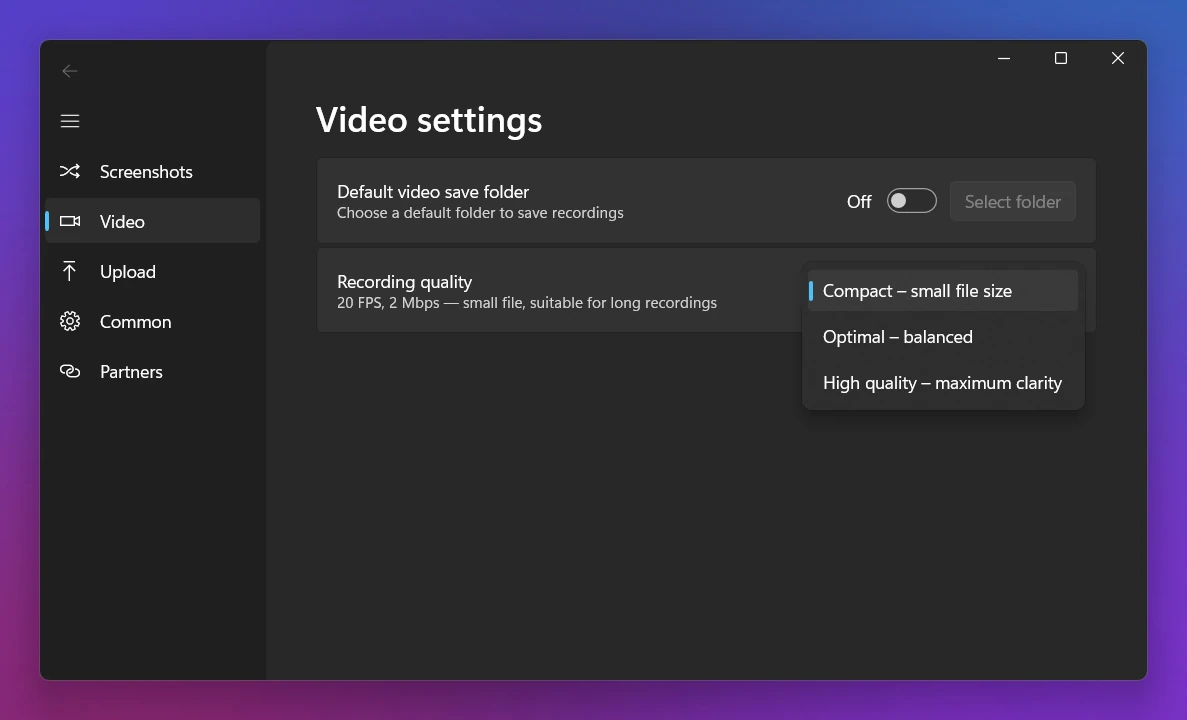
- Match the quality to the job. Sound rarely needs tuning, but video settings change the file size. See screen recording quality.
No sound in your screen recording? Check these in order
Start with the quickest check and work down.
- A switch was off. Check the sound buttons before you press Record, because some apps, like Snipping Tool, can't add a source after you start. Turn on the mic and system audio, then record again.
- The wrong microphone is selected. Open Settings → System → Sound → Input, choose the device you use and check that its volume bar moves when you speak. Then pick the same device in your recorder.
- Windows blocks the microphone. Open Settings → Privacy & security → Microphone (Windows 10: Settings → Privacy → Microphone). Turn on Microphone access, Let apps access your microphone and Let desktop apps access your microphone.
- The mic is muted on the device. Check the mute switch on your headset or the mic key on your laptop keyboard.
- There's no system sound. Make sure the sound actually plays on your default output device (Settings → System → Sound → Output). Check that the app isn't muted in the volume mixer. In Game Bar, make sure Audio to record isn't set to None.
- A Bluetooth headset sounds bad or cuts out. Switch to a wired or built-in microphone, or record system audio only.
- A streaming site gives you a silent or black video. Protected content often can't be recorded. See how to fix a black screen recording.
Can't find the file you just recorded? Check where screen recordings are saved.
Recording calls, meetings and webinars
To record a Teams or Zoom call, turn on both: the microphone for you and system audio for everyone else. Before you start, tell the others you're recording. Many countries require consent by law, and it's good manners everywhere. If you're the organizer, the meeting app's own recording is often easier, because everyone can see it's on.
Frequently asked questions
Why is there no sound in my screen recording?
How do I record system audio without my voice?
How do I record internal audio on Windows 10?
Does Snipping Tool record audio?
Can I record a Teams or Zoom call with sound?
Do I need headphones to screen record with audio?
Sleekshot Team
We build Sleekshot, a free screenshot and screen recording app for Windows and Mac. Every guide is checked on current Windows 11, Windows 10 and macOS builds.
Also available in: Deutsch Français Español Italiano Русский ភាសាខ្មែរ Bahasa Indonesia 简体中文 日本語