How to Edit a Screenshot on Windows 11 & 10 (4 Free Ways)
 By Sleekshot Team
8 min read
By Sleekshot Team
8 min read
Short answer
On Windows 11, press Win + Shift + S and click the notification. In Snipping Tool, crop, draw, add shapes or an arrow, then press Ctrl + S. For typed text or exact resizing, open the screenshot in Paint. To edit a screenshot you saved earlier, open the file in Paint or Photos. If you mark up screenshots every day, try a free app like Sleekshot. You crop and add arrows, text and blur right on the screenshot, before the file is even saved.
On this page
- Quick comparison of free screenshot editors on Windows
- Method 1: Edit in Snipping Tool (Windows 11)
- Method 2: Crop, resize and add text in Paint
- Method 3: Crop or mark up a saved screenshot in Photos
- Method 4: Edit as you take the screenshot with Sleekshot
- Which tool to use for each edit
- Tips for cleaner screenshot edits
The fastest way to edit a screenshot on Windows 11 is Snipping Tool. Press Win + Shift + S, drag over an area and click the notification that pops up. You get a pen, highlighter, shapes with an arrow, an eraser and crop. For typed text or exact resizing, use Paint. For a screenshot you saved last week, open the file in Paint or Photos.
Which one to pick comes down to one question: are you editing right after you take the screenshot, or a file you already have? The built-in apps handle both, just with more clicks. Below are all four free options, with the steps and what each one can't do.
Quick comparison of free screenshot editors on Windows
All four are free. Three are already on your PC. Sleekshot is a separate download.
| Tool | How to open it | Crop | Arrows and shapes | Typed text | Blur | Best for |
|---|---|---|---|---|---|---|
| Snipping Tool (Windows 11) | Win + Shift + S, then click the notification | Yes | Rectangle, oval, line, arrow | No (as of Oct 2026) | No | Quick marks right after a screenshot |
| Paint | Start menu, then Ctrl + V or File → Open | Yes | Many shapes, block arrows | Yes | No | Text, resizing, old files |
| Photos | Open the file, then Ctrl + E | Yes, with ready-made ratios | Freehand pen with an arrowhead | No | No (background blur is for photos) | Cropping and rotating saved files |
| Sleekshot | PrtSc | Resize the selection | 7 arrow styles, boxes, ellipses, step numbers | Yes | Yes | Adding arrows and text as you take the screenshot |
Method 1: Edit in Snipping Tool (Windows 11)
Snipping Tool is the screenshot editor built into Windows 11. Since its 2024 updates, it covers the basics: pen, highlighter, shapes (including an arrow), eraser and crop. It opens straight from the notification after you take a screenshot.
- Press Win + Shift + S. On Windows 11, the PrtSc key opens the same toolbar by default. Drag over the area you need.
- Click the notification in the bottom-right corner. The screenshot opens in the Snipping Tool window.
- Edit with the toolbar:
- Pen and Highlighter for freehand marks and for marking a line of text. Each has color and thickness options.
- Shapes: rectangle, oval, line or arrow, plus emoji. While a shape is selected, you can resize or rotate it and change its outline and fill.
- Eraser removes whole strokes and shapes.
- Image crop: drag the corner handles, then confirm.
- Text actions finds the text in the image so you can copy it. It copies text out. It doesn't let you type on the screenshot.
- Press Ctrl + S to save the edited version or Ctrl + C to copy it.
What it can't do. As of October 2026, Microsoft's Snipping Tool docs list no tool for typed text, and there's no blur. For those, Microsoft suggests Edit → Edit with Paint, which sends the screenshot straight to Paint. A Text button has shown up in Windows Insider test builds since late 2025, so your version may get it later.
Tip: In recent versions, draw a line with the pen and hold the mouse still for a moment at the end. Snipping Tool turns the stroke into a clean straight line or arrow. If it does that when you didn't want it to, press Ctrl + Z.
Snipping Tool also saves each screenshot to C:\Users\<you>\Pictures\Screenshots the moment you take it. Press Ctrl + S after editing so your marked-up version is saved as its own file.
On Windows 10, Win + Shift + S opens Snip & Sketch instead. It has a ballpoint pen, pencil, highlighter, eraser, ruler and crop, but no shapes and no text. Windows 10 support ended on October 14, 2025, so new editing features only come to the Windows 11 apps.
Method 2: Crop, resize and add text in Paint
Paint is the better built-in choice for typed text and exact pixel sizes. It also edits screenshots you've already saved as files.
- Open Paint from the Start menu. If the screenshot is still on the clipboard, press Ctrl + V. If not, use File → Open (Ctrl + O), or right-click the file in File Explorer and choose Open with → Paint.
- Crop: pick the rectangular Select tool, drag around the part you want to keep, then click Crop (Ctrl + Shift + X).
- Resize: press Ctrl + W, switch to pixels, keep the aspect ratio locked and type the new width.
- Text: click the A (Text) button, click on the image and type. Set the font, size, bold or italic and the background fill before you click away.
- Shapes: the Shapes gallery has a line, rectangle, oval and block arrows pointing right, left, up and down. Hold Shift while you drag for straight lines and even proportions.
- Save: File → Save as → PNG.
Warning: Text and shapes in Paint turn into ordinary pixels as soon as you click outside them. You can't select the words later to fix a typo, so undo with Ctrl + Z and type them again.
For more on text styles and readability, see our guide on how to add text to a screenshot.
Method 3: Crop or mark up a saved screenshot in Photos
Photos is the default image viewer in Windows 11. It's the quickest way to trim or straighten a screenshot you saved earlier, with nothing to install.
- Double-click the screenshot (by default in Pictures → Screenshots) to open it in Photos.
- Click Edit image or press Ctrl + E.
- Crop: drag the corners or choose a ready-made ratio. Rotate and flip are on the same tab.
- Markup: pick one of two pens or the highlighter. In the pen options, set the line type to plain, single arrow or double arrow. That gives you a freehand line with an arrowhead.
- Erase: a brush that fills in small objects with AI, like a stray notification badge. Check the result closely before you trust it to hide anything private.
- Choose Save as copy to keep the original.
Photos has no text tool and no blur for hiding things. The Background blur option is meant for photos of people, not for hiding an email address in a screenshot.
Method 4: Edit as you take the screenshot with Sleekshot
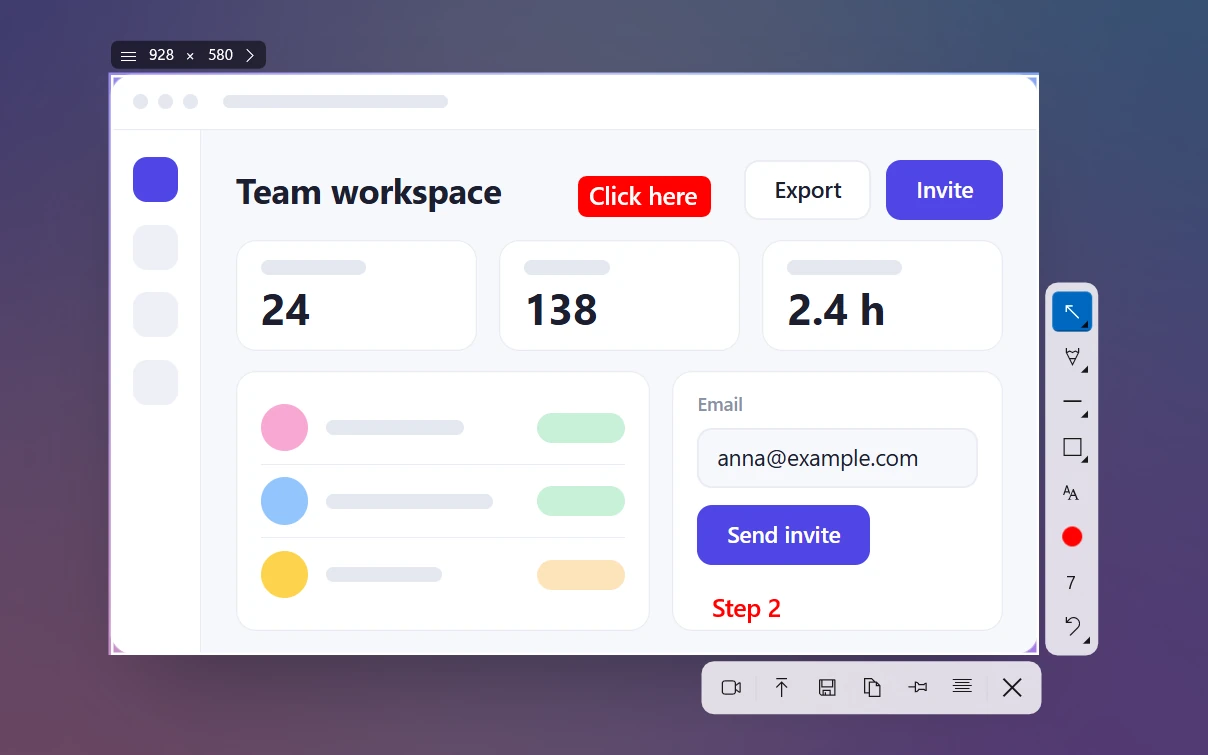
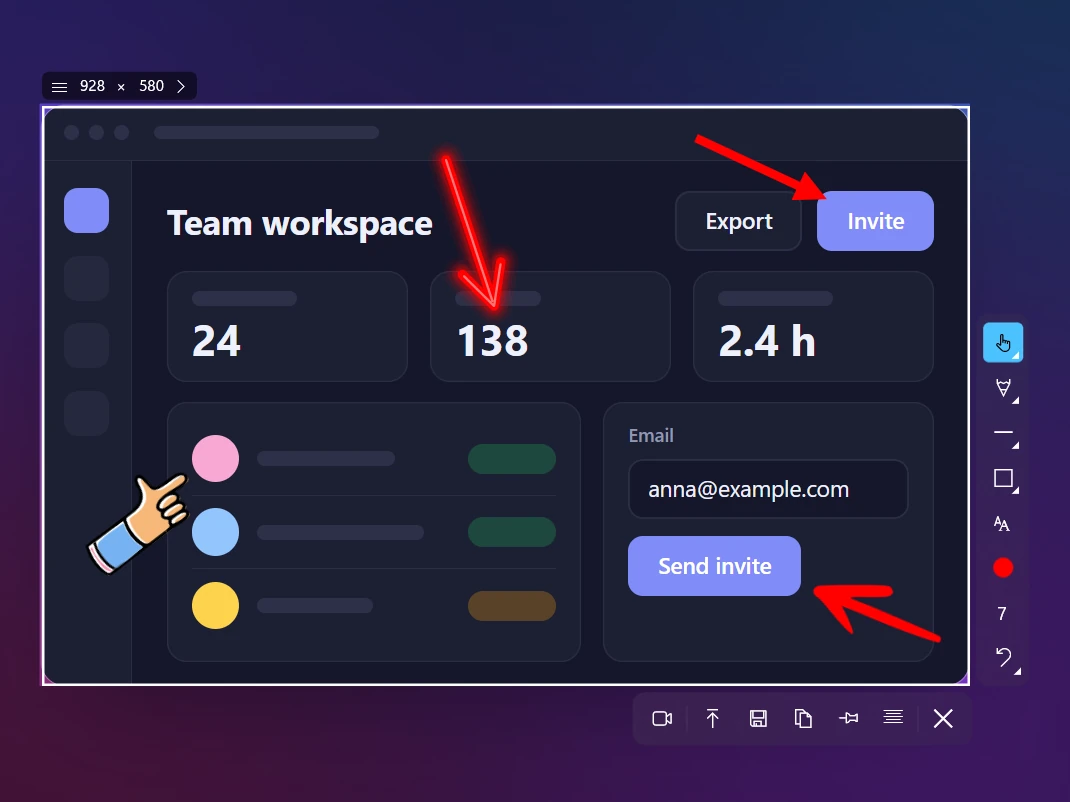
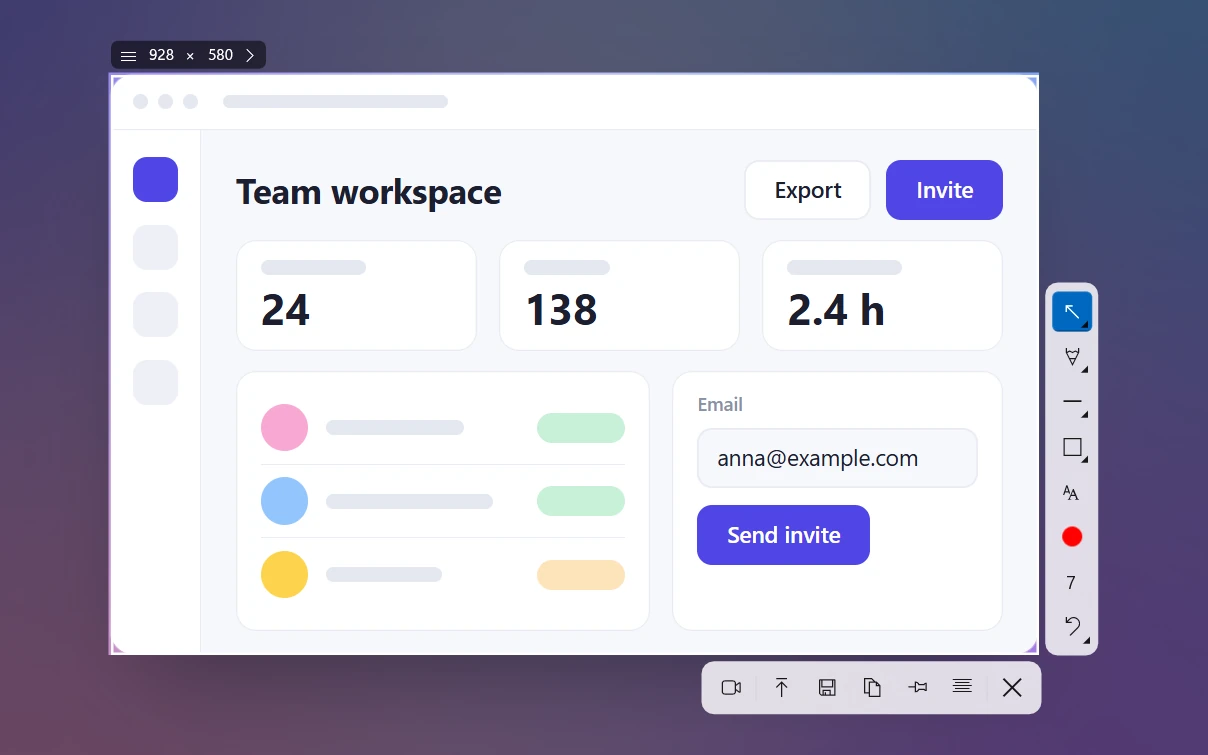
Sleekshot is a free screenshot and screen recording app for Windows 10 and 11. Its editing tools appear right on the screenshot as you take it. You select an area, add arrows or text, and copy, save or upload the result. There's no separate editor window and no file to hunt for afterwards.
- Download Sleekshot (free, no account, no watermark) and press PrtSc. The screen dims.
- Drag over an area, click a window, or press Ctrl + A for the whole monitor.
- Crop by dragging the edges of the selection. For an exact size, type it into the W × H box, or pick a ready-made size like YouTube thumbnail (1280 × 720) or Open Graph (1200 × 630).
- Add arrows, boxes and text from the toolbar on the side, or with single keys: 1 arrow, R rectangle, B blur, S step numbers, H highlighter, T text, C color. The mouse wheel changes the line thickness and font size.
- Copy, save or share: Ctrl + C copies it, Ctrl + S saves it as PNG, JPEG or WebP, and Ctrl + U uploads it and gives you a short link.
Every tool is described on the arrows, steps and blur page.
Where Sleekshot falls short: you can only edit while you take the screenshot. It doesn't open screenshots you've already saved, so use Paint or Photos for those. Arrows and shapes can't be moved once drawn. Ctrl + Z removes the last one, and there's no redo. Text labels can be dragged. It doesn't take scrolling screenshots.
Which tool to use for each edit
Most edits come down to a handful of tasks. Here's the shortest way to do each one.
| Edit | Built-in way | In Sleekshot |
|---|---|---|
| Crop | Snipping Tool: Image crop · Paint: Ctrl + Shift + X | Drag the edges of the selection |
| Resize to exact pixels | Paint: Ctrl + W | Type W × H or pick a ready-made size |
| Add an arrow | Snipping Tool: Shapes → Arrow · Paint: block arrows | 1, 7 styles |
| Add typed text | Paint: Text (A) | T |
| Hide an email or password | Cover it with a filled rectangle in Paint | B (Blur rectangle) |
| Highlight a line of text | Snipping Tool or Photos: Highlighter | H |
| Number the steps | No built-in tool | S |
| Copy text from the image | Snipping Tool: Text actions | Ctrl + O |
Each of these has its own guide: drawing arrows, blurring private data, numbered step-by-step screenshots and copying text from a screenshot.
Tips for cleaner screenshot edits
A few habits make an edited screenshot clearer than any extra tool would.
- Crop first, then add arrows. A tighter frame cuts distractions, and your arrows end up the right size for the final image.
- Use one accent color. Red or orange stands out in most apps. Three colors on one screenshot start to look like noise.
- Hide private data. Don't highlight it. A see-through highlighter leaves the text readable. Use blur or a solid filled box.
- Save screenshots of apps as PNG. JPEG smears thin text and lines. Our screenshot format guide explains when JPEG or WebP is fine.
- Keep the original. Save your edits as a copy (Photos: Save as copy, Paint: Save as) so you can start over.
More pitfalls are in common screenshot mistakes.
Frequently asked questions
How do I edit a screenshot on Windows 11?
How do I crop a screenshot on Windows?
Can I add text to a screenshot in Snipping Tool?
What is the best free screenshot editor for Windows?
Can Sleekshot edit a screenshot I already saved?
Sleekshot Team
We build Sleekshot, a free screenshot and screen recording app for Windows and Mac. Every guide is checked on current Windows 11, Windows 10 and macOS builds.
Also available in: Русский