How to Record a Selected Area of the Screen on Windows
 By Sleekshot Team
7 min read
By Sleekshot Team
7 min read
Short answer
On Windows 11, press Win + Shift + R, drag over the part of the screen you want and click Start. Snipping Tool records only that area and saves it to Videos → Screen Recordings. Windows 10 has no built-in way to do this, because Xbox Game Bar records whole app windows, so use a free screen recorder. In Sleekshot, press PrtSc, drag over the area or type an exact size like 1280 × 720, then press V and Ctrl+R. OBS Studio can do the same with a cropped Display Capture.
On this page
To record part of the screen on Windows 11, press Win + Shift + R, drag over the area you want and click Start. Snipping Tool records only what happens inside that rectangle and saves the MP4 to C:\Users\<you>\Videos\Screen Recordings. Windows 10 has no built-in way to record a selected area, because Xbox Game Bar only records whole app windows. There you need a free screen recorder like Sleekshot or OBS Studio.
When you record an area instead of the full screen, the video stays on topic and your tabs and notifications stay out of it. Text also stays readable after YouTube or a chat app compresses the video. Below are four ways to do it, including how to record an exact size like 1280 × 720 for YouTube or 1080 × 1920 for Shorts.
Screen recorders that record a selected area
| Method | How to start | Windows | Exact size in pixels | Saves to |
|---|---|---|---|---|
| Snipping Tool | Win + Shift + R | 11 | No, you drag by hand | Videos\Screen Recordings |
| Sleekshot (free) | PrtSc → drag → V → Ctrl + R | 10 (1809+) and 11 | Yes: type W × H or pick a ready-made size | Videos\Sleekshot |
| OBS Studio (free) | Display Capture + crop | 10 and 11 | Yes, with canvas size and crop | Videos |
| PowerPoint (Microsoft 365) | Insert → Screen Recording → Select Area | 10 and 11 | No, you drag | Inside the slide |
| Xbox Game Bar | — | 10 and 11 | Can't record an area | — |
All the shortcuts for these tools are in our screen recording shortcut cheat sheet.
Method 1: Snipping Tool (Windows 11, Win + Shift + R)
Snipping Tool's video mode is the fastest built-in way to record a selected area on Windows 11.
- Press Win + Shift + R. The screen dims and a toolbar appears at the top.
- Drag over the part of the screen you want to record.
- Set the microphone and system audio buttons on the toolbar now. You can't change them once you start.
- Click Start. Snipping Tool records everything inside the rectangle and nothing outside it.
- Click Stop. Snipping Tool has already saved the MP4 to
C:\Users\<you>\Videos\Screen Recordings. A window opens where you can trim the start and end.
It's the right tool for a quick "look, this button doesn't work" clip. But you can't type an exact size, so two recordings never come out quite the same. There's also no webcam, no click highlights and no drawing while you record. On Windows 10, Snipping Tool can't record video at all.
Method 2: Sleekshot – any area, exact sizes and ready-made sizes
Sleekshot is a free screenshot and screen recording app for Windows 10 and 11. You select the area just like for a screenshot. You can also type an exact size or pick a ready-made one, which helps when the video has to fit YouTube, a slide or a vertical Short.
- Press PrtSc, Sleekshot's default shortcut. The screen dims.
- Drag over the area you want to record. Hold Shift for a perfect square.
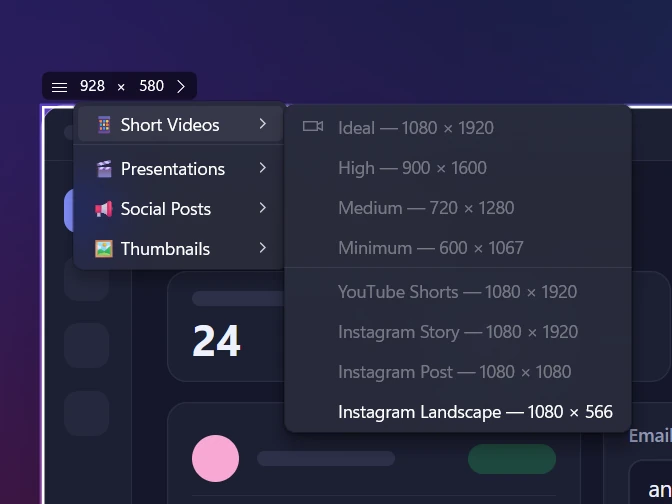
- For an exact size, click the W × H numbers in the size box and type the width and height. Or open the size list next to them and pick one, like HD 1280 × 720 or YouTube Shorts 1080 × 1920.
- To move the selection without resizing it, drag the grip on the size box.
- Press V (Screen recorder mode) and choose your microphone. Turn on computer sound, click highlights or the webcam if you need them.
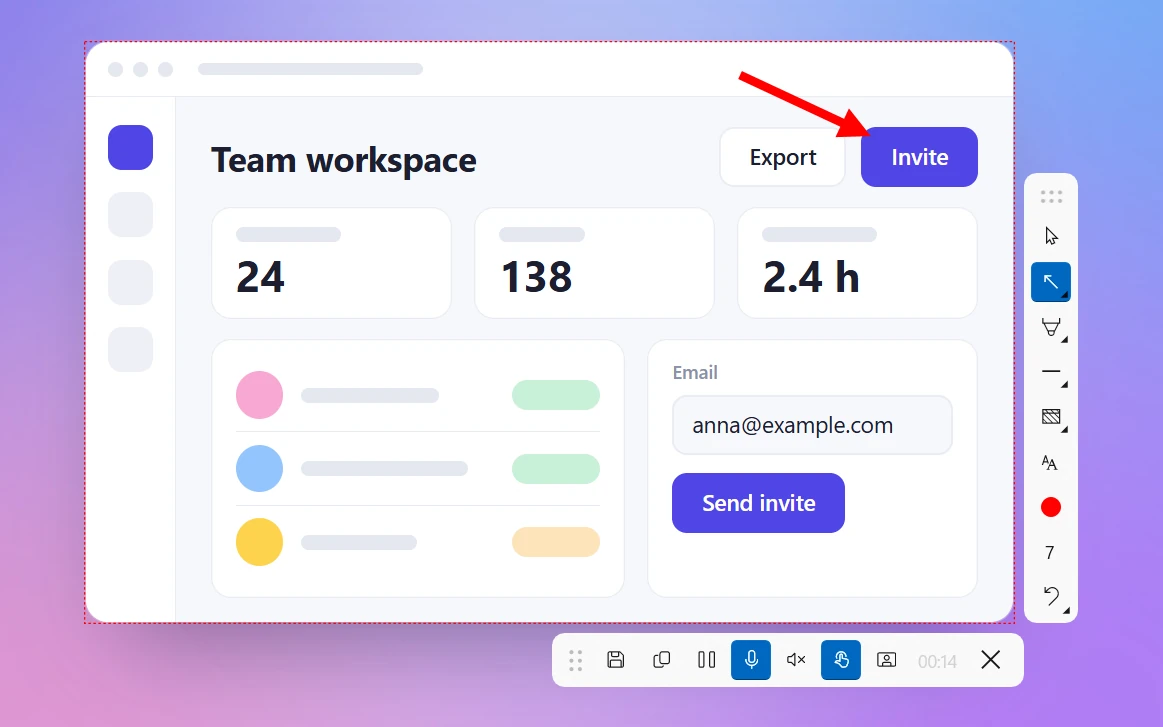
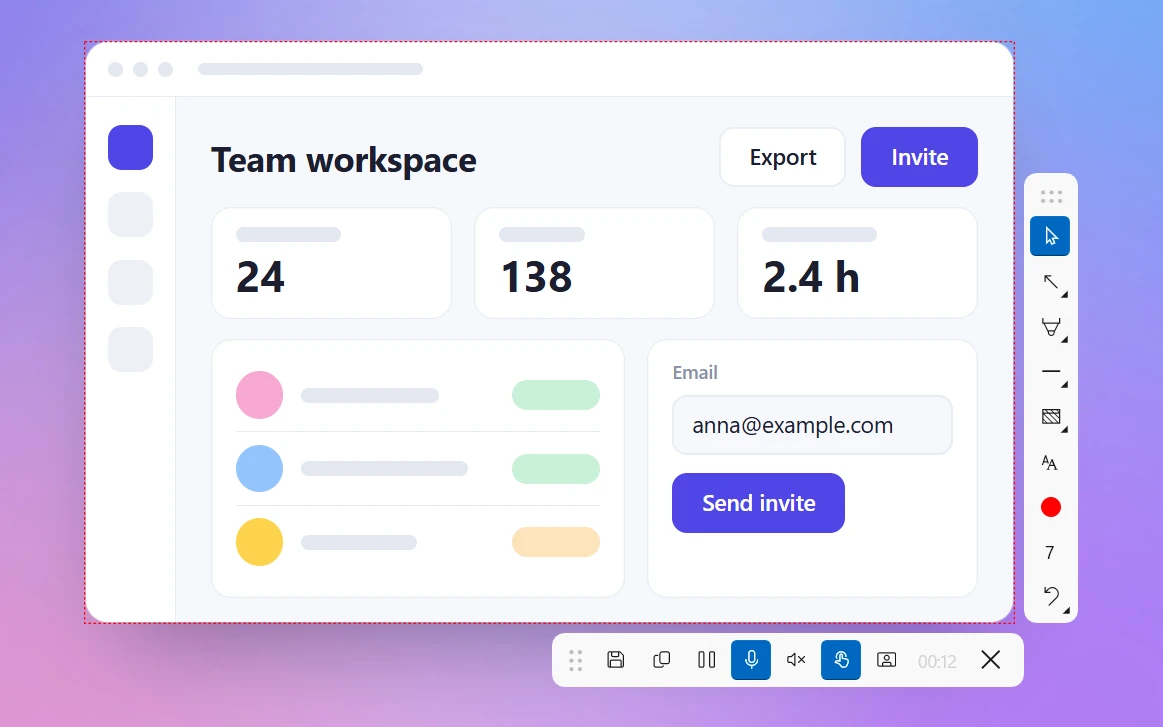
- Press Ctrl + R (Record). A red dashed outline marks the area being recorded. When you're done, click Save to file or Copy to clipboard.
The size box shows real pixels. A 1280 × 720 selection records a 1280 × 720 area even at 125% or 150% display scaling. The ready-made sizes page lists them all.
The area has to fit on your monitor. A selection can't be bigger than the screen, so Sleekshot cuts a size that doesn't fit at the edge. On a 1920 × 1080 display, 1080 × 1920 becomes 1080 × 1080, and the only vertical size that fits is Minimum (600 × 1067). For full-size vertical videos, use a 4K monitor or one turned to portrait.
You can draw arrows and boxes on the screen while you record, and Sleekshot keeps its own toolbars out of the video. The limits: one area on one monitor at a time, MP4 only, and no trimming or editor. Recording is free, with no watermark and no time limit.
Method 3: OBS Studio – crop a Display Capture
OBS Studio (free, open source) has no "drag over an area" button. You get the same result by cropping a full-screen source and making the canvas the size of the area.
- Open Settings → Video and set Base (Canvas) Resolution and Output (Scaled) Resolution to the size you want, for example 1280 × 720.
- Under Sources, click + → Display Capture and choose your monitor. The preview now shows only the top-left part of the screen.
- Hold Alt and drag the edges of the source in the preview to crop it. Then drag the source so the part you need fills the canvas. For exact pixel values, right-click the source → Filters → + → Crop/Pad and type the left, top, right and bottom crop.
- Click Start Recording, then Stop Recording. The file goes to your
Videosfolder.
For a vertical video, set the canvas to 1080 × 1920 instead. OBS takes longer to set up, but it remembers the layout. That's handy if you record the same area again and again.
Method 4: PowerPoint (Microsoft 365)
PowerPoint has its own screen recorder that can record an area. It's handy if the video is going into a slide anyway.
- Open a presentation and go to Insert → Screen Recording.
- Choose Select Area (or press Win + Shift + E) and drag over the area.
- Click Record. Pause with Win + Shift + D and stop with Win + Shift + Q.
- PowerPoint puts the video in the slide. To get a separate file, right-click it and choose Save Media as.
Which area size to pick
Choose the size by where people will watch the video, not by what fits on your screen.
| Where it goes | Area size | Why |
|---|---|---|
| YouTube, a course, a presentation | 1920 × 1080 or 1280 × 720 (16:9) | Plays without black bars |
| Shorts, Reels, TikTok | 1080 × 1920, 720 × 1280 or 600 × 1067 (9:16) | Fills a phone screen |
| Instagram feed post | 1080 × 1080 (1:1) | Square post |
| Bug report or a quick reply in Slack or Teams | Just the app window or the broken part | Smaller area, bigger text |
| A short clip for a help article or docs | 800 × 600 or smaller | Readable and small |
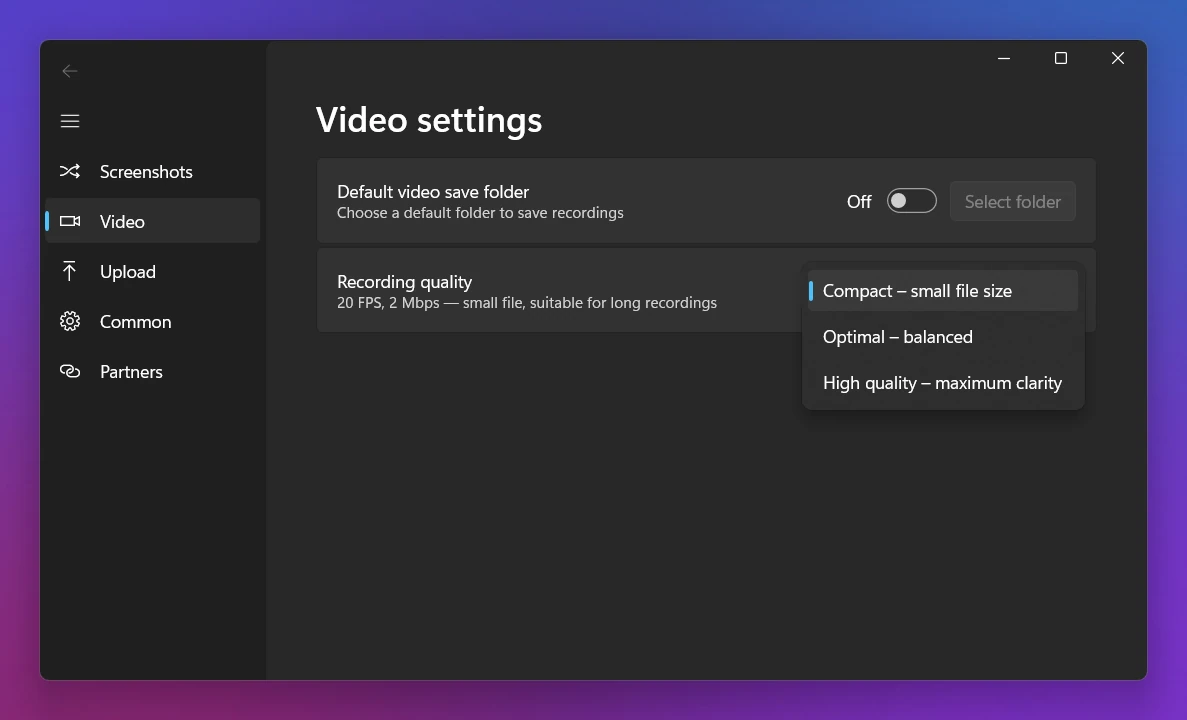
In a smaller area, text takes up more of the frame, so it survives compression better. With Sleekshot's quality settings, file size depends mostly on the quality you pick and the length, not on the area. Read more about frame rates and bitrates in screen recording quality, and see current platform sizes in our social media image sizes guide.
Tips for a clean recording
- Zoom the content, not the video. Press Ctrl + + in the browser or app before you record. Big buttons in a small area read much better than tiny ones in a big area.
- Plan your moves inside the frame. Menus, pop-ups and dialogs that open outside the area won't be in the video. Do a test run and move the selection if something spills over.
- Tidy up the area. Hide personal bookmarks, close unrelated tabs and turn on Do not disturb so no notification lands in the frame.
- Move the mouse slowly and pause after each click. Highlighted clicks help viewers follow along.
- Need the whole screen after all? Record one full monitor: see how to record one monitor. To put your face in the corner, add a webcam: how to record your screen with a webcam.
To compare every screen recorder on Windows, including Xbox Game Bar and its limits, read how to screen record on Windows.
Frequently asked questions
How do I record a specific area of my screen on Windows 10?
Can Xbox Game Bar record part of the screen?
How do I record a vertical 9:16 video of my screen for Shorts or TikTok?
What size should I record for YouTube?
Where are recordings of a screen area saved?
Can I record part of the screen with sound?
Sleekshot Team
We build Sleekshot, a free screenshot and screen recording app for Windows and Mac. Every guide is checked on current Windows 11, Windows 10 and macOS builds.
Also available in: Русский