How to Change Where Screenshots Are Saved in Windows 11 and 10
 By Sleekshot Team
7 min read
By Sleekshot Team
7 min read
Short answer
Open File Explorer, right-click Pictures > Screenshots and choose Properties. On the Location tab, click Move, select the new folder and click Apply, then Yes to move the files you already have. From then on, Win + PrtSc saves there, and so does Snipping Tool, which uses the same folder by default. Restore Default on the same tab undoes it.
On this page
- Which setting controls which screenshots
- Method 1: Move the Screenshots folder (Location tab)
- Method 2: Change Snipping Tool's save folder (Windows 11)
- Method 3: Get screenshots out of OneDrive
- Method 4: Registry (when the Location tab won't work)
- Xbox Game Bar: changing the Captures folder
- Sleekshot: pick a folder each time, or set one auto-save folder
- Screenshots still go to the old folder?
To change where Windows saves screenshots, move the Screenshots folder itself. Right-click Pictures → Screenshots, choose Properties and open the Location tab. Click Move…, pick a new folder and click Apply. From then on, Win + PrtSc saves to the new place. So does Snipping Tool, because it uses the same folder by default. It takes about a minute, and Restore Default undoes it.
A few other settings also decide where screenshots end up: Snipping Tool's own setting, OneDrive's folder backup, the Xbox Game Bar Captures folder and any screenshot app you've installed. Here's which one to change.
Which setting controls which screenshots
Windows has no single "screenshot folder" switch. Each way of taking a screenshot follows its own setting (as of October 2026):
| Screenshots taken with | What to change | Default folder |
|---|---|---|
| Win + PrtSc | Screenshots folder → Properties → Location | Pictures\Screenshots |
| Snipping Tool (PrtSc or Win + Shift + S on Windows 11) | Same folder by default, or Snipping Tool → Settings → Change | Pictures\Screenshots |
| Snipping Tool video (Win + Shift + R) | Snipping Tool → Settings → Screen recordings are saved to → Change | Videos\Screen Recordings |
| Xbox Game Bar (Win + Alt + PrtSc) | Captures folder → Properties → Location | Videos\Captures |
| Any of the above with OneDrive backup | OneDrive → Settings → Sync and backup → Manage backup | OneDrive\Pictures\Screenshots |
| PrtSc / Alt + PrtSc (classic) | Nothing to change: clipboard only | — |
| Sleekshot | Settings → Screenshots → Auto-save screenshots, or choose each time | Your choice |
Not sure where your screenshots go right now? Our guide to where screenshots are saved on Windows covers every method.
Method 1: Move the Screenshots folder (Location tab)
This is the official way, and it works the same on Windows 10 and 11. Windows treats Screenshots as a special system folder, so you point it somewhere else instead of copying it.
- Create the new folder first, for example
D:\ScreenshotsorC:\Users\<you>\Documents\Screenshots. Use an empty folder. - Open File Explorer (Win + E) and go to Pictures.
- Right-click the Screenshots folder and choose Properties. Or select it and press Alt + Enter.
- Open the Location tab. The box shows the current path.
- Click Move…, select the folder you created and click Select Folder.
- Click Apply. Windows asks whether to move all the files from the old place to the new one. Click Yes to bring your old screenshots along (we recommend it), or No to leave them where they are.
- Click OK and press Win + PrtSc to test. The new file should show up in the new folder.
The three most common mistakes:
- Picking a whole drive. If you select
D:\instead ofD:\Screenshots, Windows treats the whole drive as your Screenshots folder, and going back later gets messy. Always pick a folder made just for this. - Picking a folder that already has files in it. Windows mixes everything together, and moving back later drags those files along. Start with an empty folder.
- Using a removable drive. If the USB drive or network share isn't connected, screenshots can't be saved there. On a laptop, a folder on the internal drive is safer.
No Location tab?
If the Properties window has no Location tab, you're looking at an ordinary folder that just happens to be called Screenshots. Type shell:Screenshots in the File Explorer address bar to open the real one, and check its properties instead. If that folder doesn't exist yet, press Win + PrtSc once and Windows creates it.
How to restore the default location
Open your current Screenshots folder's Properties → Location. Click Restore Default, then Apply. Windows offers to move the files back to C:\Users\<you>\Pictures\Screenshots. Click Yes.
Method 2: Change Snipping Tool's save folder (Windows 11)
On Windows 11, Snipping Tool saves every screenshot on its own, whether you opened it with PrtSc or Win + Shift + S. Recent versions (11.2408 and later, from late 2024) let you pick its folder:
- Open Snipping Tool from the Start menu.
- Click See more (the three dots) → Settings.
- Make sure Automatically save original screenshots is on, and expand it.
- Next to Screenshots are saved to, click Change and pick a folder.
- For videos, do the same under Screen recordings are saved to.
Don't see Change? Update Snipping Tool from the Microsoft Store (Library → Get updates). If you'd rather choose a folder every time, turn auto-save off and press Ctrl + S in the Snipping Tool window after each screenshot.
Method 3: Get screenshots out of OneDrive
If the Location tab shows a path like C:\Users\<you>\OneDrive\Pictures\Screenshots, OneDrive is backing up your Pictures folder, and every screenshot gets uploaded. There are two ways out:
- Keep Pictures in OneDrive and move only Screenshots out. Use Method 1 and pick a folder outside OneDrive, like
C:\Users\<you>\Screenshots. - Stop backing up Pictures altogether. Click the OneDrive icon in the taskbar → Settings (gear) → Sync and backup → Manage backup. Turn off Pictures and save.
The details, including what happens to files already in the cloud, are in screenshots saving to OneDrive.
Method 4: Registry (when the Location tab won't work)
If the folder points to a drive that no longer exists and Restore Default fails, you can set the path in the registry. Back up the registry first.
- Press Win + R, type
regeditand press Enter. - Go to
HKEY_CURRENT_USER\Software\Microsoft\Windows\CurrentVersion\Explorer\User Shell Folders. - Double-click the value
{B7BEDE81-DF94-4682-A7D8-57A52620B86F}. That's the Screenshots folder's ID. - Enter the new path, or
%USERPROFILE%\Pictures\Screenshotsto go back to the default. - Sign out and back in, or restart, so Windows picks up the change.
If the value isn't there, use Method 1 instead.
Xbox Game Bar: changing the Captures folder
Game Bar screenshots (Win + Alt + PrtSc) and clips go to C:\Users\<you>\Videos\Captures. Game Bar has no folder setting of its own, but you can move the Captures folder the same way: right-click it → Properties → Location → Move…. You can also see the current path in Settings → Gaming → Captures.
Sleekshot: pick a folder each time, or set one auto-save folder
Sleekshot is a free screenshot and screen recording app for Windows 10 and 11. It doesn't use Windows' Screenshots folder. You decide where each screenshot goes:
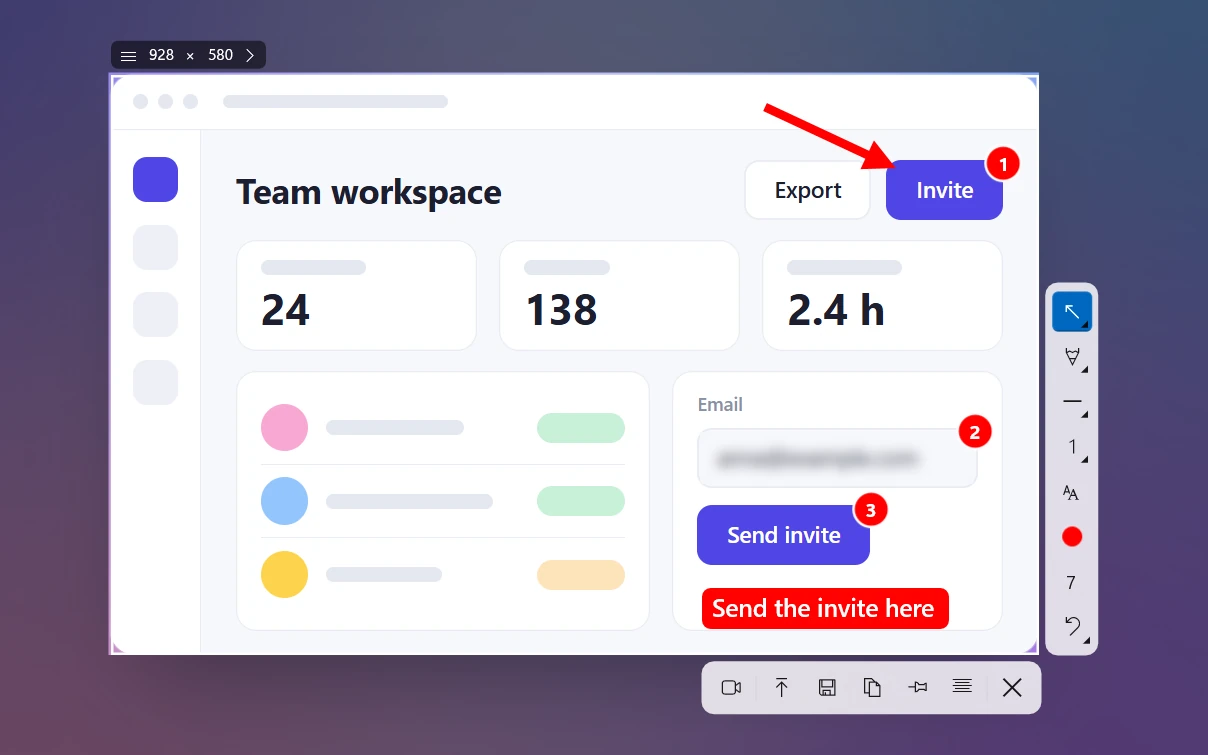
- Save to any folder: press Ctrl + S after you select an area and add your arrows. Files are named
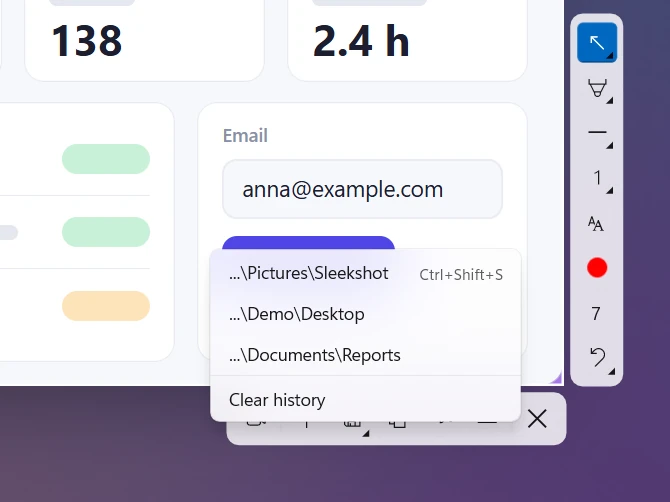
Sleekshot yyyy-MM-dd HH-mm-ss. - Quick save to a recent folder: Ctrl + Shift + S shows your last 3 folders. Handy if you keep a separate folder for each project or client.
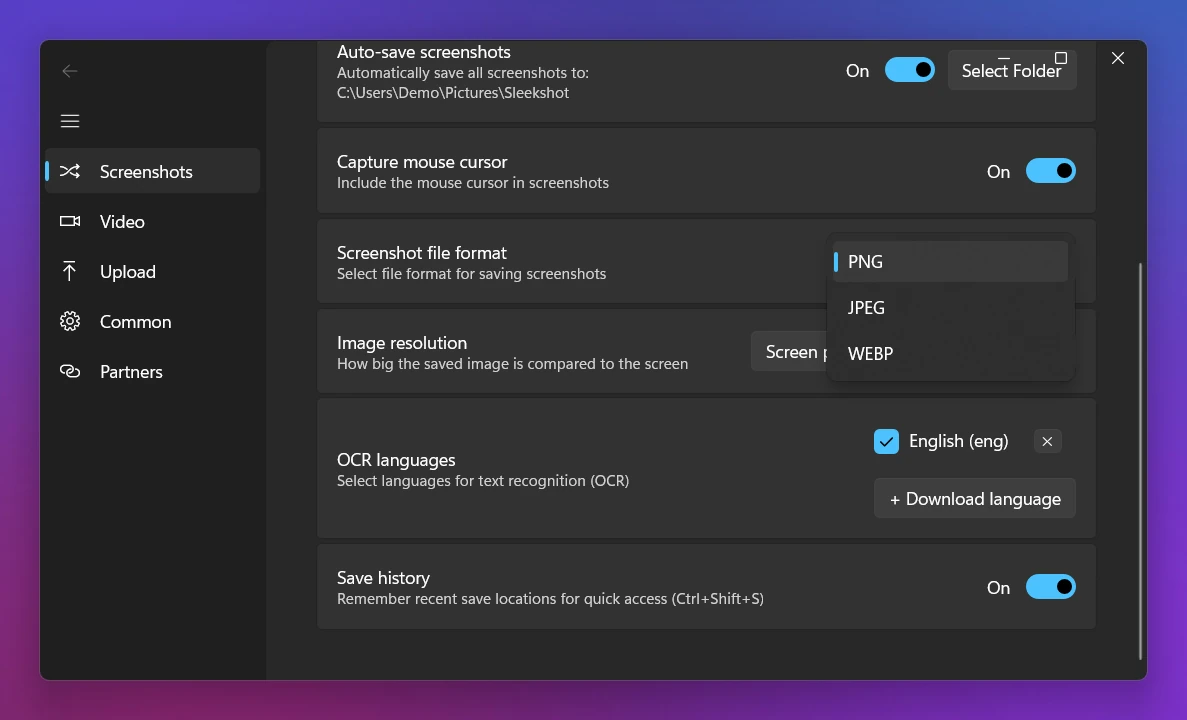
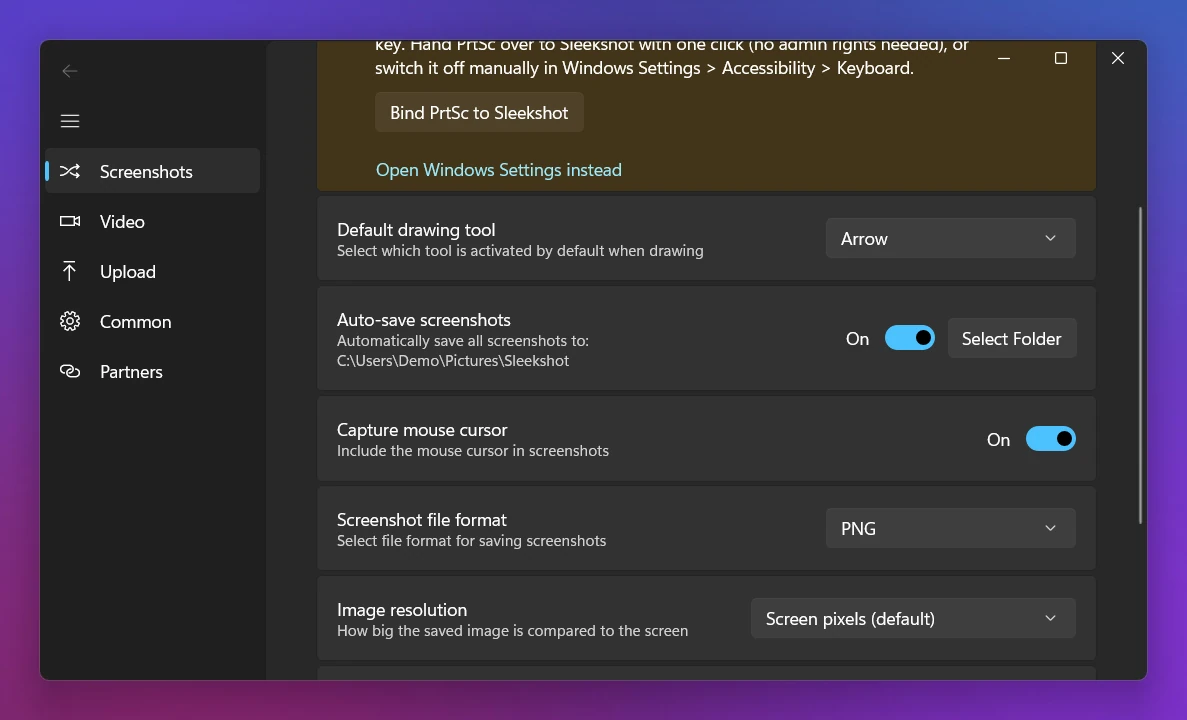
- One folder for everything: in Settings → Screenshots, turn on Auto-save screenshots and click Select Folder. Every time you copy, save or upload, Sleekshot also saves a file there.
- Format: PNG (default), JPEG or WebP, in Settings → Screenshots → Screenshot file format. Not sure which? See PNG vs JPEG vs WebP for screenshots.
- Recordings have their own folder in Settings → Video (by default,
Videos\Sleekshot).
Two things to know. Win + PrtSc keeps using the Windows folder even with Sleekshot installed, so use Method 1 for that. And Sleekshot has no screenshot history, so pick an auto-save folder you'll actually find later. If you want to share a screenshot instead of filing it, Ctrl + U uploads it and gives you a short link, no account needed.
Screenshots still go to the old folder?
Run through these quick checks:
- Test with the right key. Plain PrtSc and Alt + PrtSc only copy to the clipboard. Test with Win + PrtSc.
- Check Snipping Tool's own folder. If you changed it in Method 2, Snipping Tool screenshots go there, not to the Windows folder.
- Check OneDrive. Open
shell:Screenshotsand look at the address bar. If it shows OneDrive, OneDrive's backup is in charge (Method 3). - Sign out and back in. Apps that were already running may keep using the old path until they restart.
Frequently asked questions
How do I change where screenshots are saved on Windows 11?
How do I restore the default Screenshots folder?
Why is there no Location tab in the Screenshots folder properties?
Can I save screenshots to another drive, like D:?
Does changing the folder affect the PrtSc key?
How do I stop screenshots from saving to OneDrive?
Sleekshot Team
We build Sleekshot, a free screenshot and screen recording app for Windows and Mac. Every guide is checked on current Windows 11, Windows 10 and macOS builds.
Also available in: Русский