Where Do Screenshots Go on a Mac, and How to Change the Location
 By Sleekshot Team
6 min read
By Sleekshot Team
6 min read
Short answer
By default, macOS saves screenshots to the desktop as PNG files named Screenshot plus the date and time (Screen Shot on macOS Monterey and earlier). To save them somewhere else, press Command + Shift + 5, click Options and pick a folder under Save to. The change applies to every screenshot shortcut. Screenshots taken with Control held down only go to the clipboard and are never saved as files.
On this page
Screenshots on a Mac go to the desktop by default. Each one is a PNG file with a name like Screenshot 2026-10-01 at 10.15.32.png, saved a few seconds after you press ⌘ + ⇧ + 3 or ⌘ + ⇧ + 4. To use another folder, press ⌘ + ⇧ + 5, click Options and choose a location under Save to.
That covers most cases. Below, you'll see where every kind of screenshot ends up and how to track down one that seems to be missing. We also show two ways to change the save location: the Screenshot toolbar and a Terminal command. Last, we explain what happens to screenshots copied to the clipboard. Menu names match macOS as of October 2026 (macOS 27 Golden Gate) and work the same on Ventura, Sonoma, Sequoia and Tahoe.
Where Mac screenshots are saved by default
Every built-in screenshot shortcut saves to your desktop, /Users/<your name>/Desktop (or ~/Desktop in Terminal), unless you add Control or you've changed the location. Here's where each method sends the image:
| How you took it | Where it goes | File |
|---|---|---|
| ⌘ + ⇧ + 3 (whole screen) | Desktop | PNG, one per display |
| ⌘ + ⇧ + 4 (area or window) | Desktop | PNG |
| ⌘ + ⇧ + 5 toolbar | The place checked in Options → Save to (Desktop by default) | PNG |
| Screen recording from ⌘⇧5 | Same as above | .mov, named "Screen Recording [date] at [time]" |
| Any shortcut plus Control | Clipboard only | No file |
| Floating thumbnail dragged somewhere | Wherever you dropped it | PNG |
| Sleekshot for Mac | Clipboard, a folder you pick in the save dialog or its auto-save folder | PNG or JPEG |
The file name tells you when you took the screenshot. On macOS Ventura and later, names start with "Screenshot". On Monterey and earlier, they start with "Screen Shot", so older files may sort separately. If your Mac uses another language, the name is translated, for example "Bildschirmfoto" in German or "Capture d'écran" in French.
How to find a screenshot on your Mac
If a screenshot isn't on the desktop, it's almost always in one of a few places. Check them in this order.
- Check the current save location. Press ⌘ + ⇧ + 5 and click Options. The checked item under Save to is where screenshots go right now. If it says Clipboard, no files are being created at all.
- Search for it. Press ⌘ + Space to open Spotlight and type "Screenshot". Or open a Finder window and search for "Screenshot" across This Mac. Sort the results by date.
- Look in Recents. Recents in the Finder sidebar lists files you've created or opened lately, wherever they are.
- Open the desktop in Finder. Choose Go → Desktop (⇧ + ⌘ + D). This shows desktop files even when windows cover the desktop or a setting in System Settings → Desktop & Dock hides desktop items.
- Check desktop Stacks. If Use Stacks is on (Control-click the desktop to see it), macOS groups screenshots into one Screenshots stack. Click the stack to open it.
- Check iCloud Drive. If iCloud sync for Desktop & Documents Folders is on, your desktop lives in iCloud Drive. With Optimize Mac Storage, older files may show a cloud icon and download when you open them.
Keep in mind that the screenshot is only saved after the floating thumbnail in the bottom-right corner disappears. If you closed the lid or quit right away, give it a few seconds. Next time, swipe the thumbnail to the right to save it at once.
Still nothing, even though the shortcut seemed to work? See Mac screenshot not working for permission and shortcut fixes.
How to change where screenshots are saved (⌘⇧5)
The easiest way to change the screenshot folder is the Options menu on the Screenshot toolbar. The setting applies to every screenshot shortcut and stays until you change it again.
- Create the folder you want first, for example Screenshots inside Pictures (in Finder: File → New Folder).
- Press ⌘ + ⇧ + 5 to open the Screenshot toolbar.
- Click Options.
- Under Save to, choose Desktop, Documents or Other Location and select your new folder. You can also choose Clipboard, Mail, Messages or Preview to send every screenshot there instead of to a file.
- Press Esc to close the toolbar. Take a screenshot with ⌘ + ⇧ + 4 to check.
The folder you picked then shows up in the Save to list, so switching between it and the desktop takes two clicks. To go back to the default, choose Desktop again. All the screenshot shortcuts are in our Mac screenshot shortcuts cheat sheet.
Change the screenshot location with Terminal
If you prefer the command line, or you manage several Macs, one Terminal command sets the same option. Open Terminal from Applications → Utilities and run:
mkdir -p ~/Pictures/Screenshots
defaults write com.apple.screencapture location ~/Pictures/Screenshots
killall SystemUIServer
The first line creates the folder, and the second sets it as the screenshot location. The third restarts the process that handles screenshots, so the change takes effect. To check the current setting, run defaults read com.apple.screencapture location. To go back to the desktop, run defaults delete com.apple.screencapture location and then killall SystemUIServer.
A similar command changes the file format from PNG to JPG. It's covered in which screenshot format to use.
Where clipboard screenshots go
A screenshot taken with Control, for example Control + ⌘ + ⇧ + 4, is never saved as a file. It stays on the clipboard until you copy something else, so paste it with ⌘ + V right away. With Handoff on, Universal Clipboard lets you paste it on your iPhone or iPad too.
This is handy when you're sending a screenshot to a chat or an email and don't want files piling up on the desktop. If you decide you want a file after all, open Preview, choose File → New from Clipboard and save it.
You can also Control-click the floating thumbnail to send just that one screenshot to the clipboard or another place, without changing the default.
Where Sleekshot for Mac saves screenshots
Sleekshot for Mac is our free menu bar screenshot app (macOS 12 or later, from the Mac App Store). It doesn't use the macOS Save to setting. After you select an area and add arrows or text, you choose what happens:
- ⌘ + C copies the image to the clipboard. Nothing is saved to disk.
- ⌘ + S opens a save dialog, where you choose the folder and the format (PNG or JPEG).
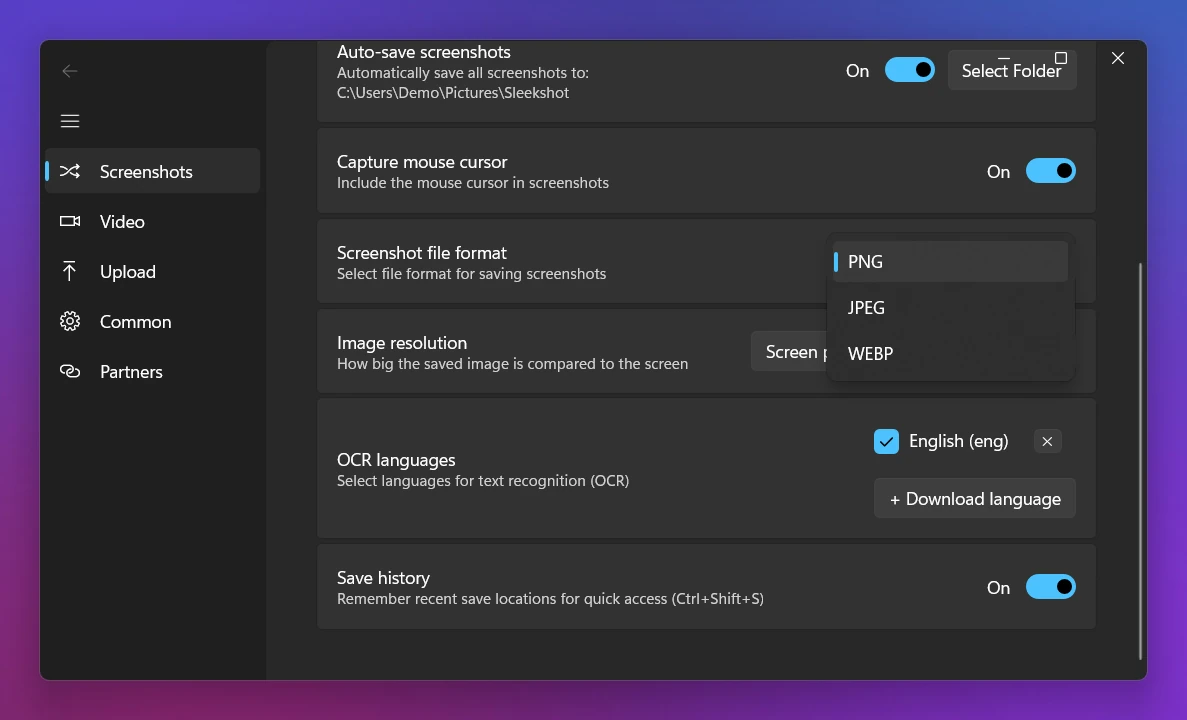
- Auto-save: in Sleekshot's Settings, choose an auto-save folder and a default format, and every screenshot is saved there as a file.
That makes it easy to keep screenshots with arrows and notes in a project folder while the system shortcuts keep saving to the desktop. Keep in mind that the Mac version only grabs a selected area. It can't grab a window with one click, and it has no timer or screen recording. Our download page still calls it beta. More about the app is on the Sleekshot for Mac page, and the full guide to the built-in tools is in how to screenshot on a Mac.
Also using a PC? Windows saves screenshots in different places depending on the shortcut. Here's where screenshots go on Windows.
Frequently asked questions
Where do screenshots go on a Mac?
Why can't I find my screenshot on the desktop?
How do I change where screenshots are saved on a Mac?
Where do screenshots go when I copy them to the clipboard?
Do Mac screenshots go to Photos or iCloud?
Sleekshot Team
We build Sleekshot, a free screenshot and screen recording app for Windows and Mac. Every guide is checked on current Windows 11, Windows 10 and macOS builds.
Also available in: Русский