How to Take a Screenshot Using the Mouse?

It’s not always convenient or possible to take screenshots using the keyboard. Keys may be unavailable, malfunctioning, or simply distract from the process. In such cases, taking screenshots with the mouse comes to the rescue — a simple and visual way to capture the screen on Windows.
Built-in Windows Features

Windows includes standard tools that allow you to take a screenshot using the mouse. For example, you can open the built-in snipping tool through search. Once launched, just click the "New" button, choose the capture type, and select the desired area with the mouse cursor.
This method is suitable for occasional use, but it has limitations: minimal editing options, manual file saving, and lack of flexible settings.
Using Context Menus and the Taskbar
Some versions of Windows allow you to pin the screenshot tool to the taskbar. In this case, the process looks like this: the user clicks the application icon, selects the capture mode, and highlights the desired screen area with the mouse. This is convenient if you don’t want to memorize keyboard shortcuts.
However, during active work, these actions still take more time than specialized solutions.
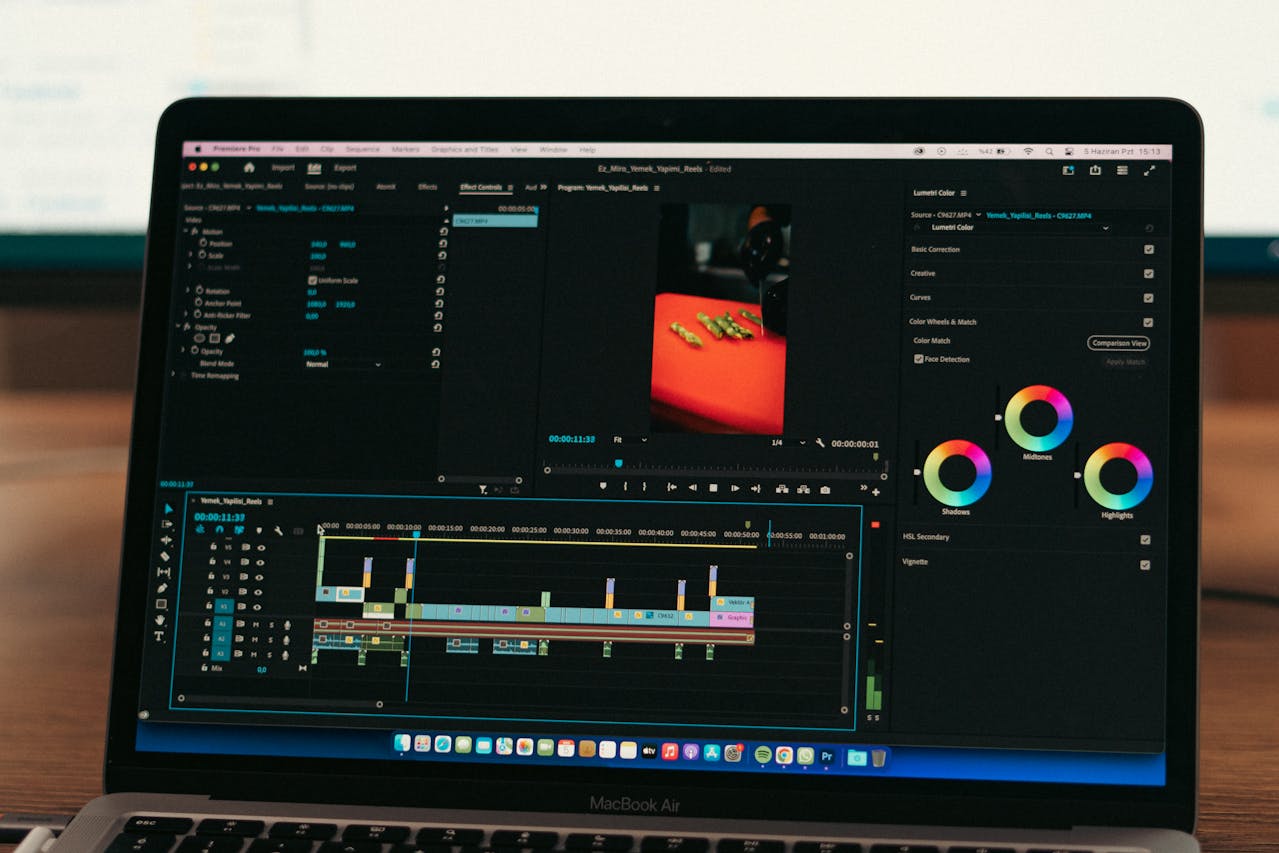
Screenshot Programs with Mouse Control
The most convenient way to take screenshots using the mouse is to use dedicated screen capture applications. They allow you to start capturing in just a few clicks and give more control over the result.
One such solution is SleekShot. The app lets you take screenshots without using the keyboard, managing the process entirely with the mouse.
How to Take a Screenshot with the Mouse in SleekShot
The screen capture process in SleekShot is simple and intuitive. The user only needs to:
Click the application icon
Select the type of screenshot (region, window, or entire screen)
Highlight the desired area with the mouse cursor
Edit the image if needed and save it
This approach is especially convenient for laptop users, touchscreens, and anyone working with graphics or instructions.
Advantages of Using SleekShot
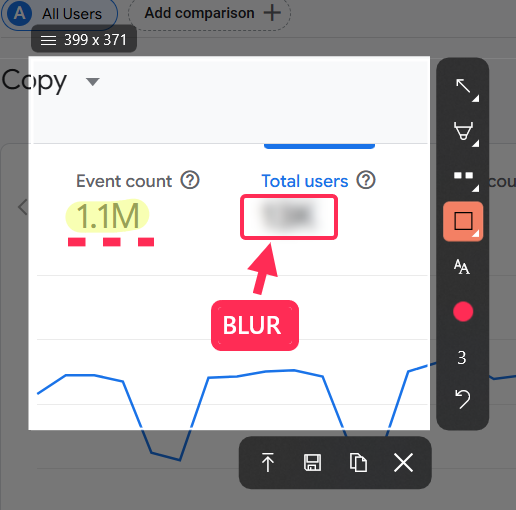
Compared to standard Windows tools, SleekShot offers a more comfortable and faster workflow. The app allows you to immediately add arrows, text, highlights, or blur sensitive information. Screenshots are automatically saved to the chosen folder, eliminating extra steps.
Additionally, SleekShot is suitable not only for screenshots but also for video recording, making it a versatile tool for work, learning, and creating visual materials.
Conclusion
Taking a screenshot with the mouse on Windows is entirely possible and convenient. Built-in tools are suitable for simple tasks, but for regular use, it’s better to use specialized applications. SleekShot allows full mouse control over screenshot creation, saves time, and makes the screen capture process clear and comfortable.