How to Take a Screenshot on a PC: A Clear Guide for Beginners
In everyday computer use, you often need to save what’s happening on your screen — an error message, the result of your actions, or important information. You don’t need to be an advanced user for this — Windows has basic tools, and for faster, more convenient work, you can use SleekShot, which lets you get ready-to-use screenshots without extra steps.
Let’s break down what a screenshot is and how you can take one without complicated settings.
What a Screenshot Is and Why You Need It
A screenshot is an image of your screen or a part of it at a specific moment. Essentially, it’s a visual record that lets you show information directly instead of explaining it in words.
Screenshots are especially useful when you need to:
Demonstrate how a program or website works
Clearly explain a sequence of actions
Save a notification or error
Quickly share information
The Simplest Way — the Print Screen Key
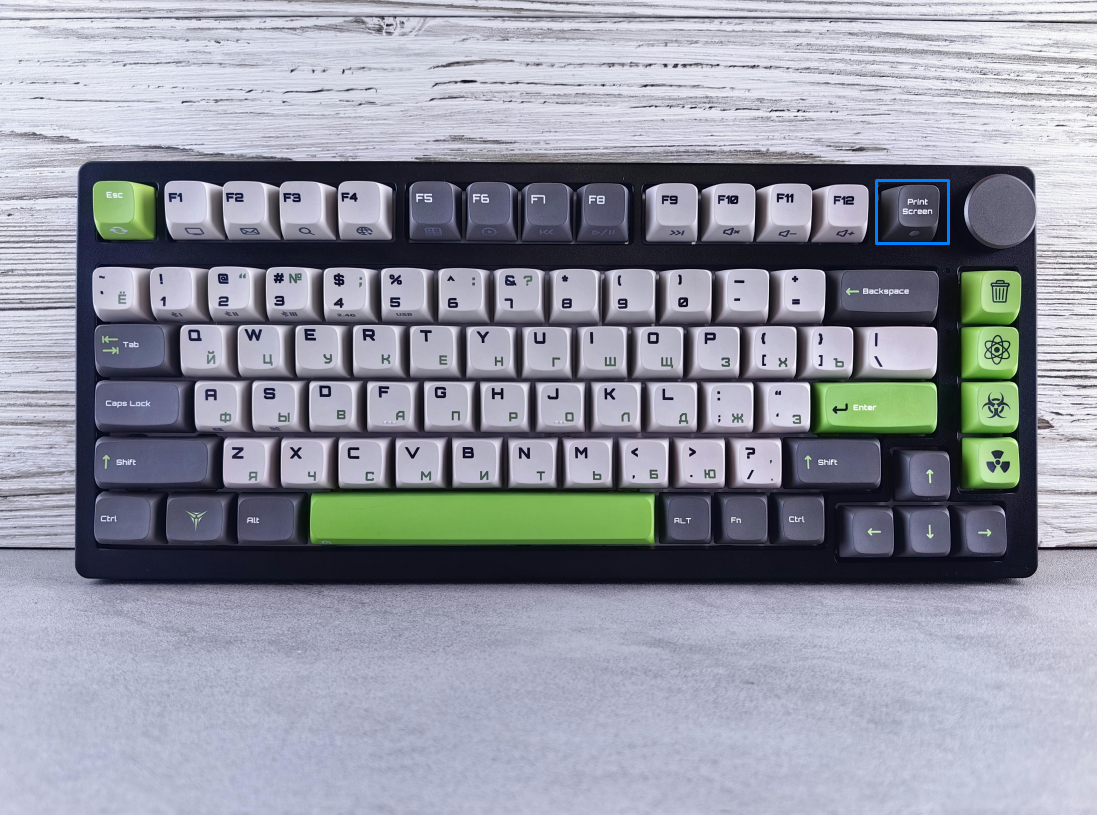
You don’t need to install extra programs to take a screenshot. The simplest and most accessible way is the Print Screen (PrtSc) key, which is on every keyboard.
Pressing Print Screen captures the entire screen. The image is stored in the clipboard — a temporary memory of the computer. You can then paste the screenshot into a document, email, or message using Ctrl + V. This method is ideal if you want to save everything displayed on your screen.
Print Screen — Entire Screen
Pressing the Print Screen key once captures an image of the entire screen. The file is not saved automatically; it is copied to the clipboard. To use the screenshot, simply paste it into the desired location using Ctrl + V.
Alt + Print Screen — Current Window Only
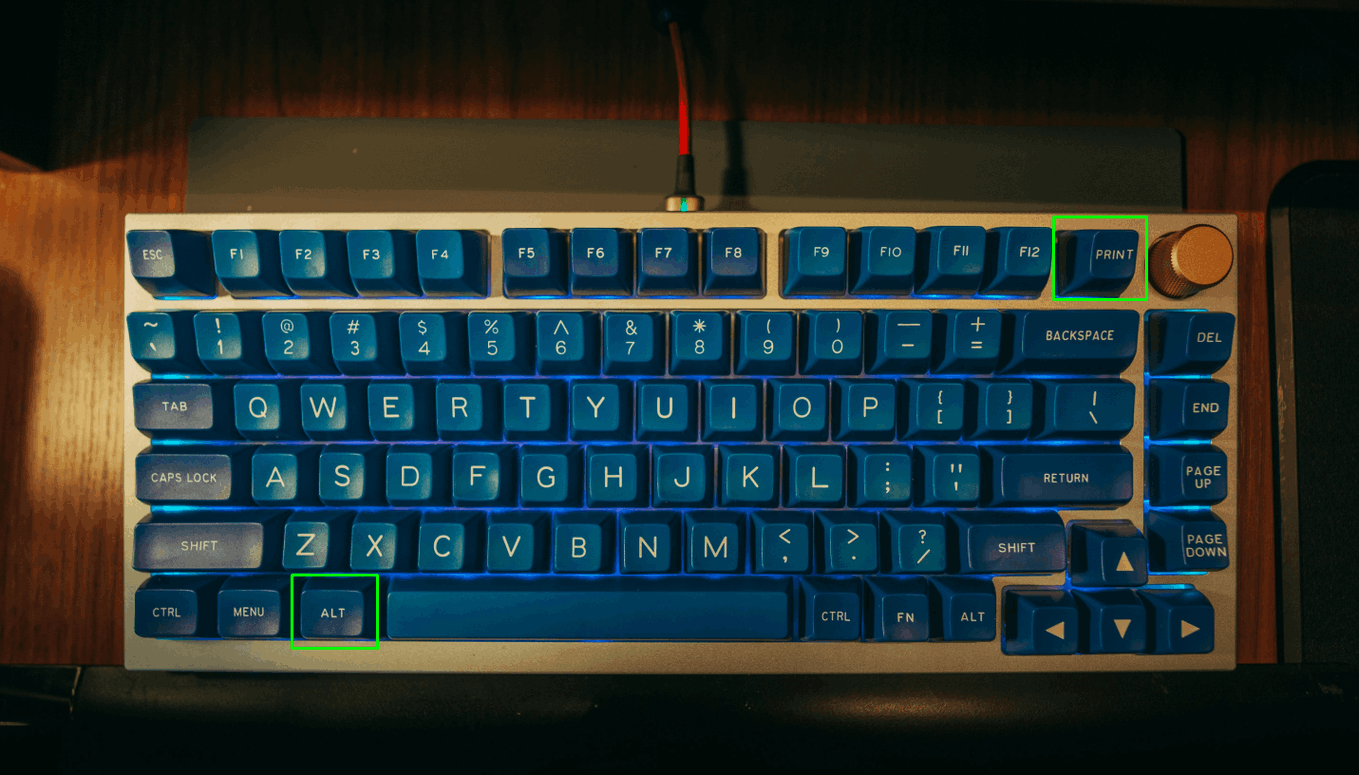
Pressing Alt + Print Screen captures only the active window you are working in, without including other elements of the desktop. The result is placed in the clipboard and can be pasted into a document, email, or message with Ctrl + V. This is especially convenient for creating instructions or highlighting a single application.
Where and How to Use Screenshots
Once captured, you can immediately use a screenshot:
Paste it into a text file or spreadsheet
Send it by email
Share it in a messenger
Add it to a presentation or guide
All of these actions use the standard Ctrl + V command, making the process intuitive even for beginners.
Built-in Windows Tools
For more precise screen capture, Windows offers Snipping Tool. It allows you to select a part of the screen, capture a specific window, or create a free-form screenshot. You can also add simple annotations and save the file in a convenient format.
This method is especially useful when you only need part of the screen, not everything.
Capturing Hidden Elements
Sometimes you need to capture a drop-down menu or panel that disappears when you click. Here’s a method:
Open Snipping Tool
Press Esc
Open the menu you want to capture
Use Ctrl + Print Screen
Select the desired area
The image will then be saved and ready to use.
A Convenient Alternative — SleekShot
If you take screenshots frequently, standard tools may not be enough. SleekShot combines all steps in one place:
Instant capture of the entire screen, a window, or a selected area
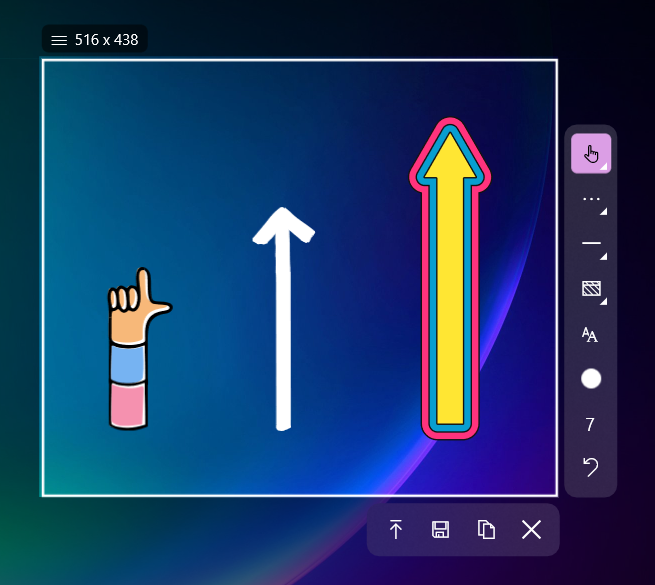
Edit the screenshot immediately after creation
Add annotations, arrows, and highlights
Save and share screenshots in just a few clicks
Its simple interface makes it easy even for users who have never used such software before.
Conclusion
Taking screenshots is a basic skill useful for every computer user. You can use the keyboard, Windows built-in tools, or simplify the process with SleekShot. In any case, no special knowledge is required — just a few clicks are enough to save the information you need.