How to Record a Single Monitor Screen

Recording a single monitor screen is a convenient way to show exactly what is happening on your computer: how a program works, a step-by-step guide, a presentation, or a training session. This format is widely used for video tutorials, explanations for colleagues, and creating clear visual materials. Recording one screen is quite simple and does not require deep technical knowledge.
What “Recording a Single Screen” Means
If multiple monitors are connected to your computer, recording a single screen means that:
only the selected monitor is recorded;
everything happening on other screens is not included in the video;
the recording stays clean and focused on the necessary information.
This is especially important if personal data or auxiliary windows are open on another screen.
Built-in Windows Capabilities
Windows includes a standard screen recording feature that allows you to capture what is happening on the screen. It usually works with the active window or the current screen, but the ability to select a specific monitor is limited.
This method is suitable for simple tasks when precise control over which screen is being recorded is not required.
Why Choosing a Single Screen Matters
Recording only one screen allows you to:
focus the viewer’s attention on the key information;
avoid unnecessary visual clutter;
reduce the final video file size;
keep data on other monitors private.
That’s why, when working with multiple displays, it’s important to have the option to choose a specific screen for recording.
Recording a Single Screen with SleekShot
For clear and convenient single-screen recording, the SleekShot app is an excellent choice. It allows you to precisely select which monitor to record and start capturing without complicated settings.
With SleekShot, you can:
choose a specific monitor for recording;
record only one screen even when multiple displays are connected;
quickly start and stop the recording;
get high-quality video without unnecessary elements.
The app interface is simple and suitable even for users who have never recorded their screen before.
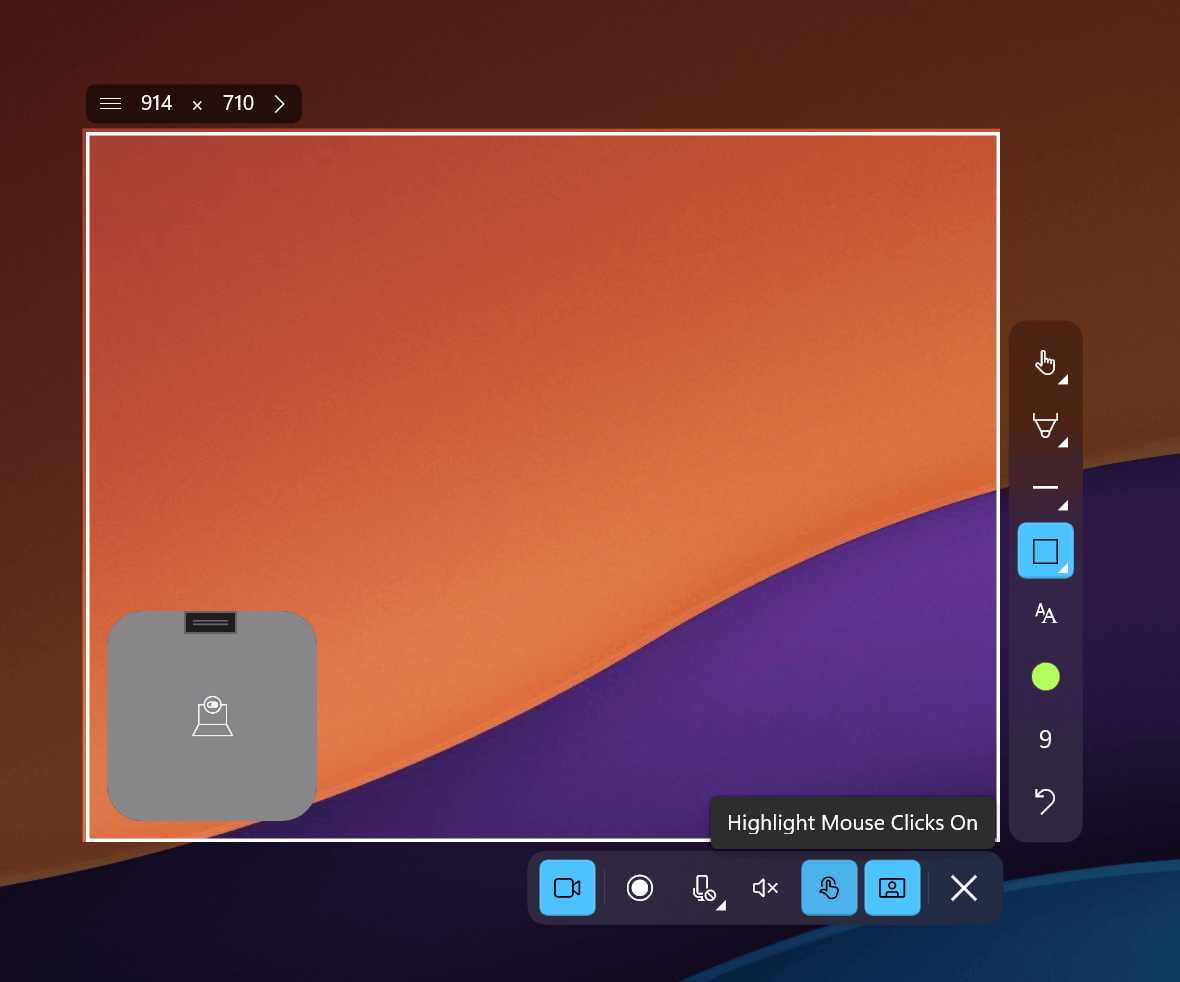
How the Recording Process Works
The process usually looks like this:
select the single-screen recording mode;
choose the required monitor;
start recording and perform the necessary actions;
stop the recording and save the video.
SleekShot makes this workflow clear and removes unnecessary steps.
When Single-Screen Recording Is Especially Useful
This recording method is ideal if you:
are creating a tutorial or training video;
need to demonstrate how a program works;
are preparing instructions for a client or colleague;
want to hide everything unnecessary and show only the required screen.
Conclusion
Recording a single monitor screen is a practical and efficient way to capture important information without distractions. For basic tasks, the built-in Windows tools may be enough, but if you value convenience, precise screen selection, and stable performance, SleekShot is the better option.
SleekShot helps you quickly and easily record exactly the screen you need, making the process clear even for beginners.