How to Record a Selected Area of the Screen

Recording a selected area of the screen is a convenient way to capture only the part you need instead of everything happening on the monitor. This format is especially useful for creating instructions, tutorial videos, or demonstrating a specific element of a program or website. It helps keep the viewer’s attention focused and removes unnecessary distractions.
What Screen Area Recording Means
Recording a selected area means you manually choose a rectangular section of the screen that will be captured. Everything that happens outside this area is not included in the video.
This is convenient if you need to:
show a specific button or interface element;
avoid recording multiple unnecessary windows;
hide personal or sensitive information;
work on a large monitor or with multiple screens.
Why Recording a Selected Area Is Better Than Recording the Entire Screen
Capturing only a selected area allows you to:
make the video clearer and easier to understand;
reduce the final file size;
avoid distracting the viewer with irrelevant details;
focus on a specific action or process.
Such recordings look cleaner and more professional.
How Screen Area Recording Works
The process usually looks like this:
select the screen area recording mode;
use the mouse to highlight the desired area;
start the recording;
everything that happens inside the selected area is captured until the recording is stopped.
The key is choosing a tool that supports this recording mode.
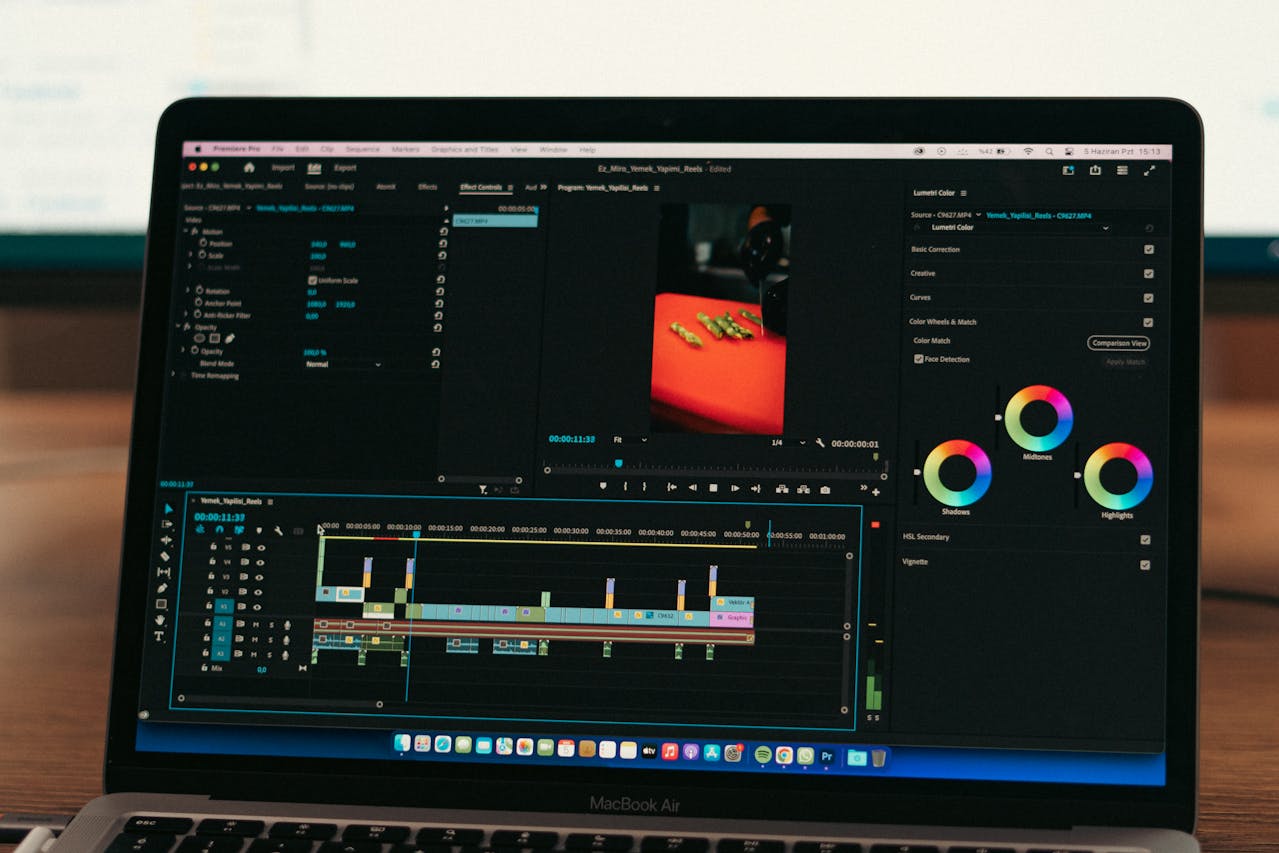
Recording a Selected Area with SleekShot
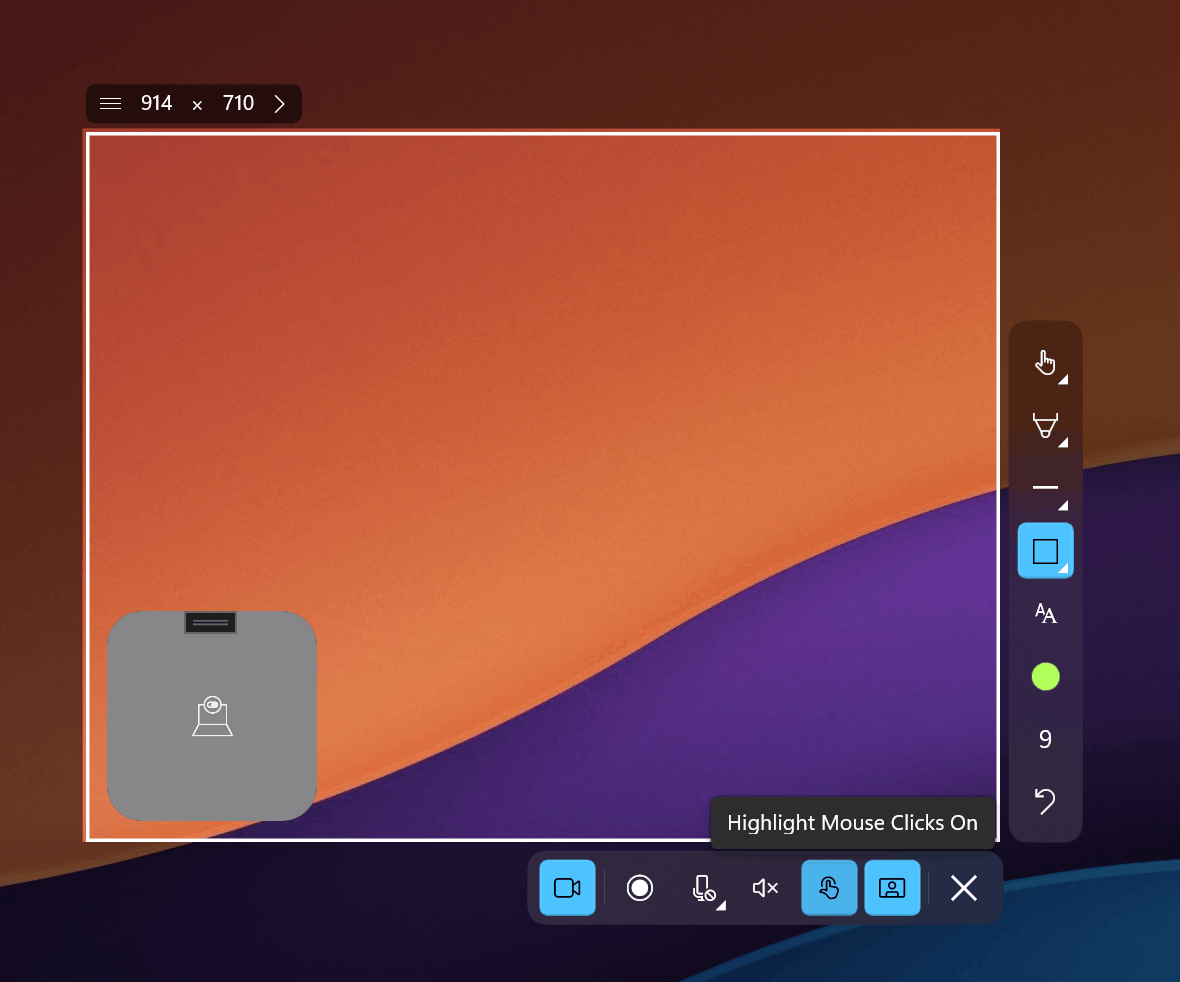
For simple and user-friendly screen area recording, SleekShot is an excellent choice. It allows you to quickly select the required part of the screen and start recording without complicated settings.
With SleekShot, you can:
select and lock a specific screen area;
record only what happens inside the highlighted zone;
quickly start and stop the recording;
get high-quality video without unnecessary elements.
The app interface is intuitive, so even users with no prior experience can use it easily.
When Screen Area Recording Is Especially Useful
Recording a selected area of the screen is ideal if you:
create step-by-step instructions;
record tutorial or training videos;
demonstrate the behavior of a specific program feature;
explain an interface issue or error;
want to hide irrelevant information on the screen.
What to Consider Before Recording
To make the recording comfortable to watch, it’s a good idea to:
prepare the required screen area in advance;
close unnecessary windows;
choose an area with clear and readable text;
avoid resizing the selected area during recording.
SleekShot helps you do all this quickly and with minimal effort.
Conclusion
Recording a selected area of the screen is a simple and effective way to show exactly what matters without distractions. It’s important to use a tool that supports area selection and convenient recording controls.
If you want to record only the needed part of the screen quickly, clearly, and neatly, SleekShot is an excellent solution for both beginners and users who frequently work with screen recordings.